How to build an easy DIY Netting Structure for Your Raised Veggie Bed!
Cabbage butterflies LOVE brassicas and other winter greens. And trust me, the last thing you want is a butterfly laying its eggs on your veggie seedlings and having caterpillars chomp away at its tender leaves, possibly destroying the entire seedling! Today, I’m excited to share an easy method of building your own netting structure over the veggie patch to protect your patch from butterflies and other unwanted visitors. This net is made to fit over the raised garden bed built together in the previous post, ‘How to Start a Veggie Garden From Scratch’, but you can also recalculate the measurements and use the same method on other sized garden beds as well.
What I love about this netting structure design is that it’s easily removable throughout the season. If you want to remove your net during some months of the year or if you want to plant veggies that no longer need netting, you can simply take out the pipes and net and store it away for next time. The design is permanent enough to look good and sturdy, but also isn’t completely permanently fastened, making it one of my favourite ways to net a veggie garden!
I think the hardest part of creating this structure was actually finding the exact parts and sizes of parts I needed, but after a bit of experimenting, I have finally figured it out and have calculated all the measurements and sizes for you below.
So to create this netting enclosure, read on below..
You will need:
4x4mx5mm Diamond eco-netting anti bird net (please note, wildlife friendly netting should have a mesh size of less than 5mm like this one)
19mm-ish timber screws - you’ll need minimum 18 screws (I bought this assorted box as I wasn’t sure what size I needed at first, but turns out I only needed the smallest 19mm ones in the pack)
3 x 2.6m lengths of Vinidex 25mm poly pipe - I bought this in a 25m roll rather than pre-cut lengths as it’s cheaper by the roll and also so that I don’t end up with any wasted off-cuts).
Pipe cutter or saw to cut poly pipes
Cordless drill/driver (my one is a discontinued model from Bunnings from a few years back, but you can find a similar one here, if you don’t already own one or can’t borrow one)
2 x 1.5m bamboo stakes (or a 2.4m length of timber)
Twine
You can find everything above in Bunnings and plus, the poly pipe comes in a roll rather than a long length so everything also fits easily into any car!
BEFORE YOU BEGIN..
Before you begin this project, look on both sides of each leaf to make sure there are no cabbage butterfly eggs (they look like tiny white balls) or caterpillars on your plants already. If you find any, make sure to remove them as you don’t want to trap them inside as this will defeat the whole purpose of a net!

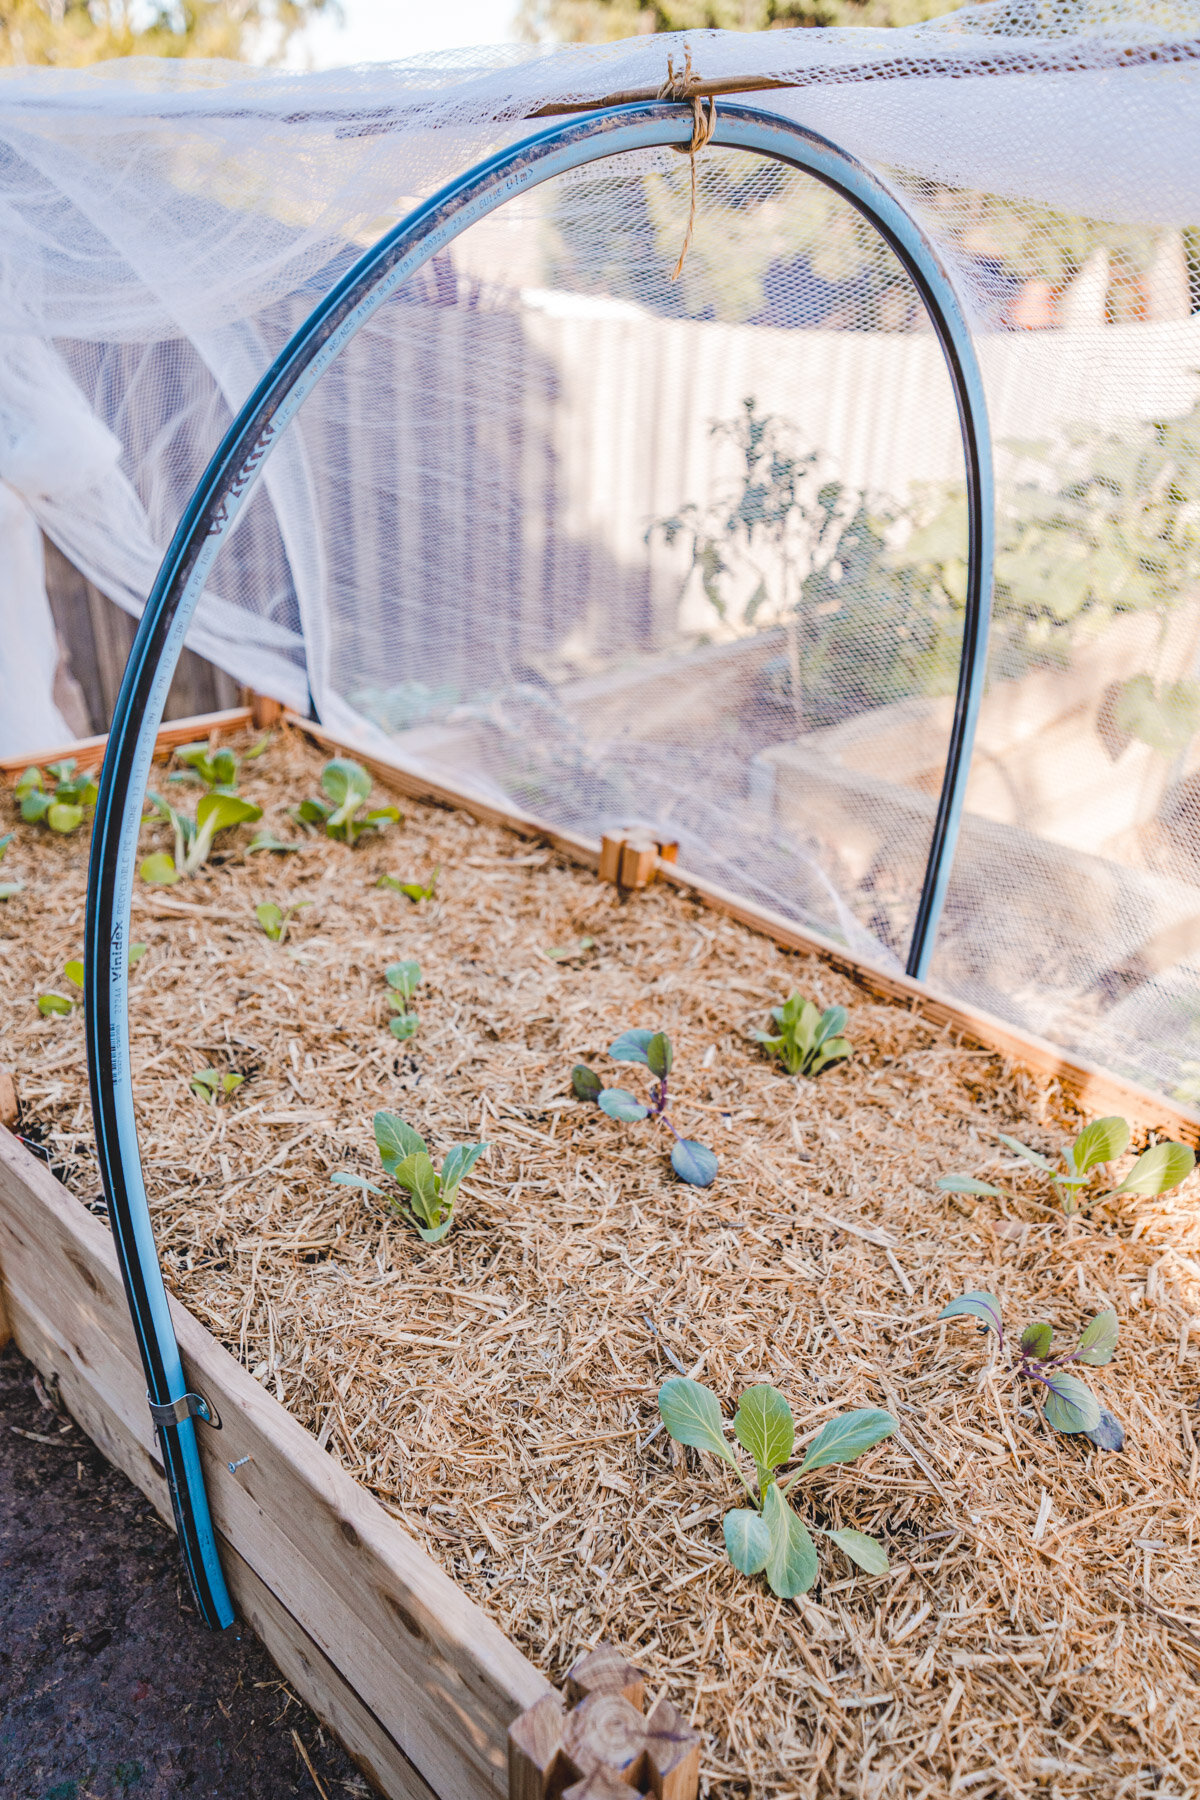
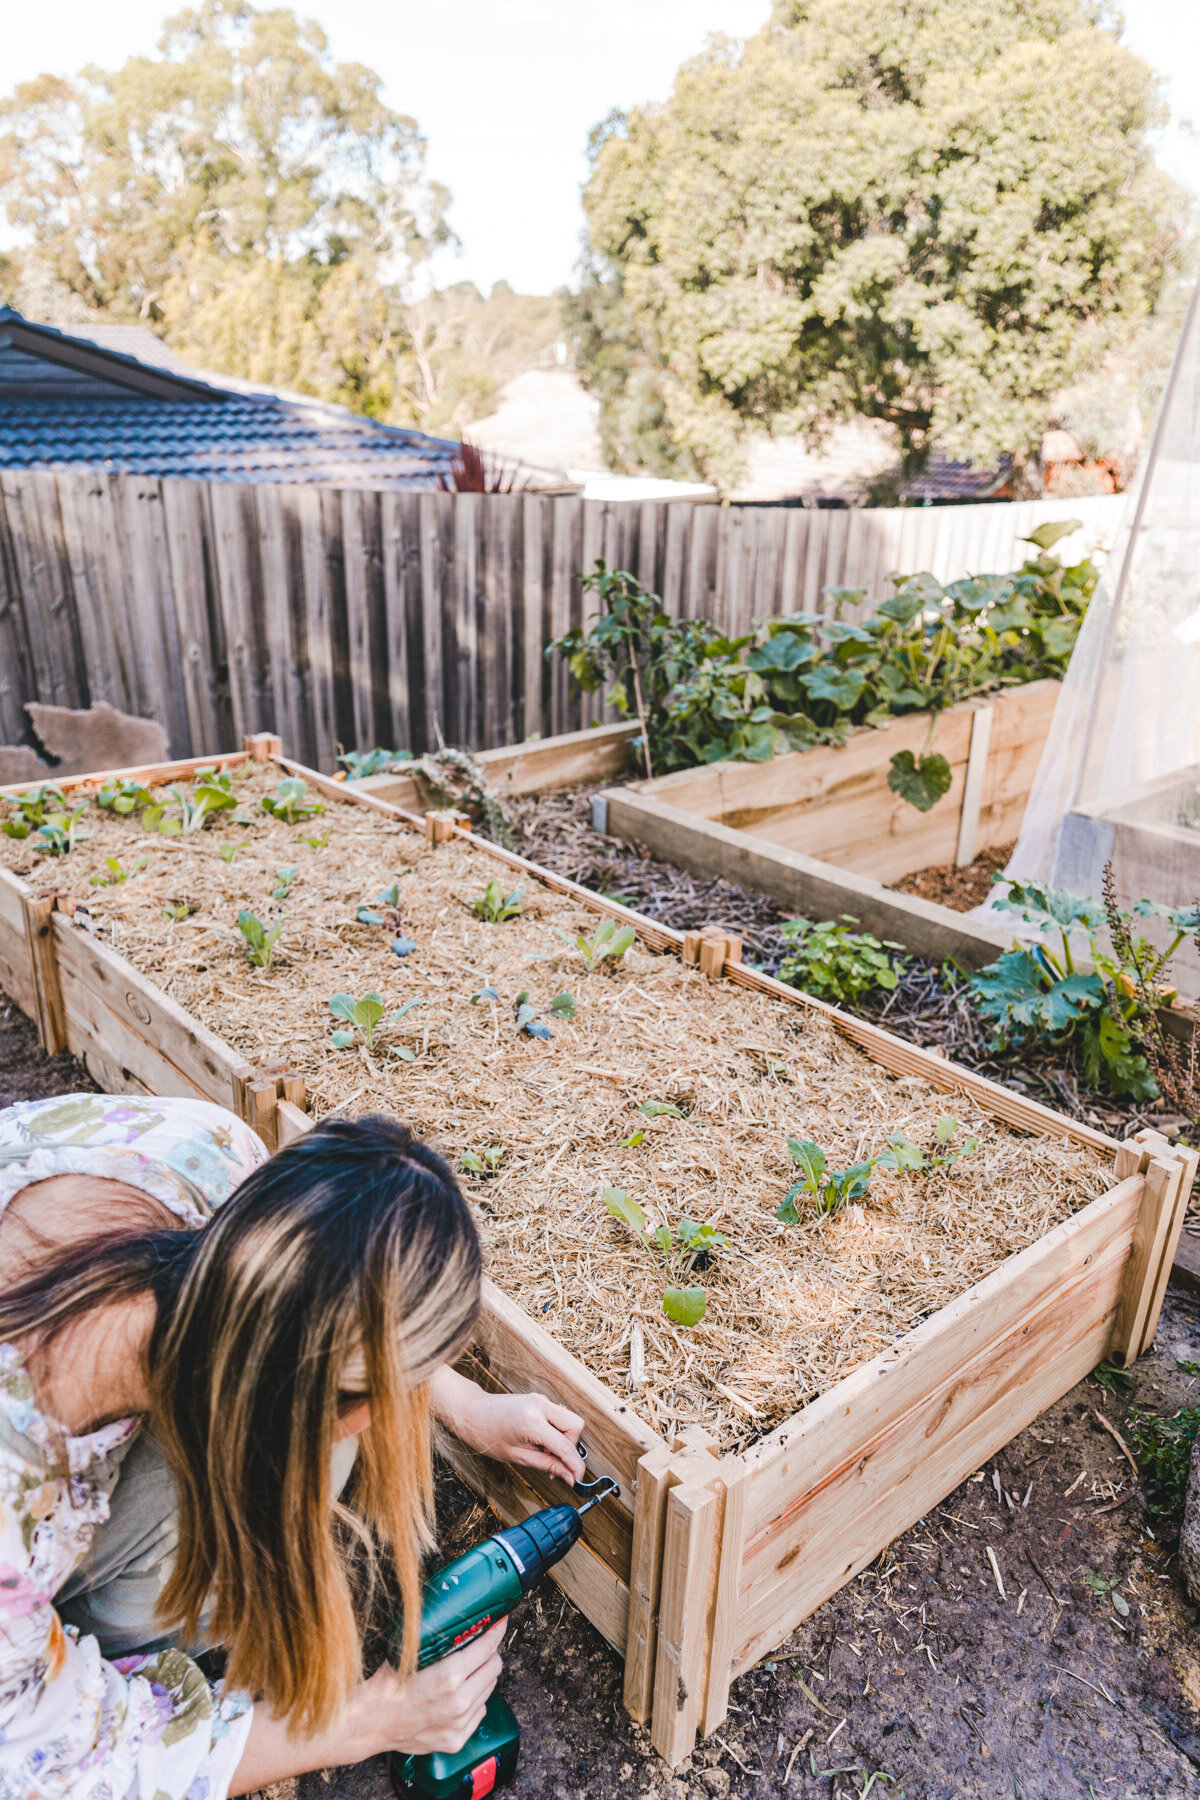
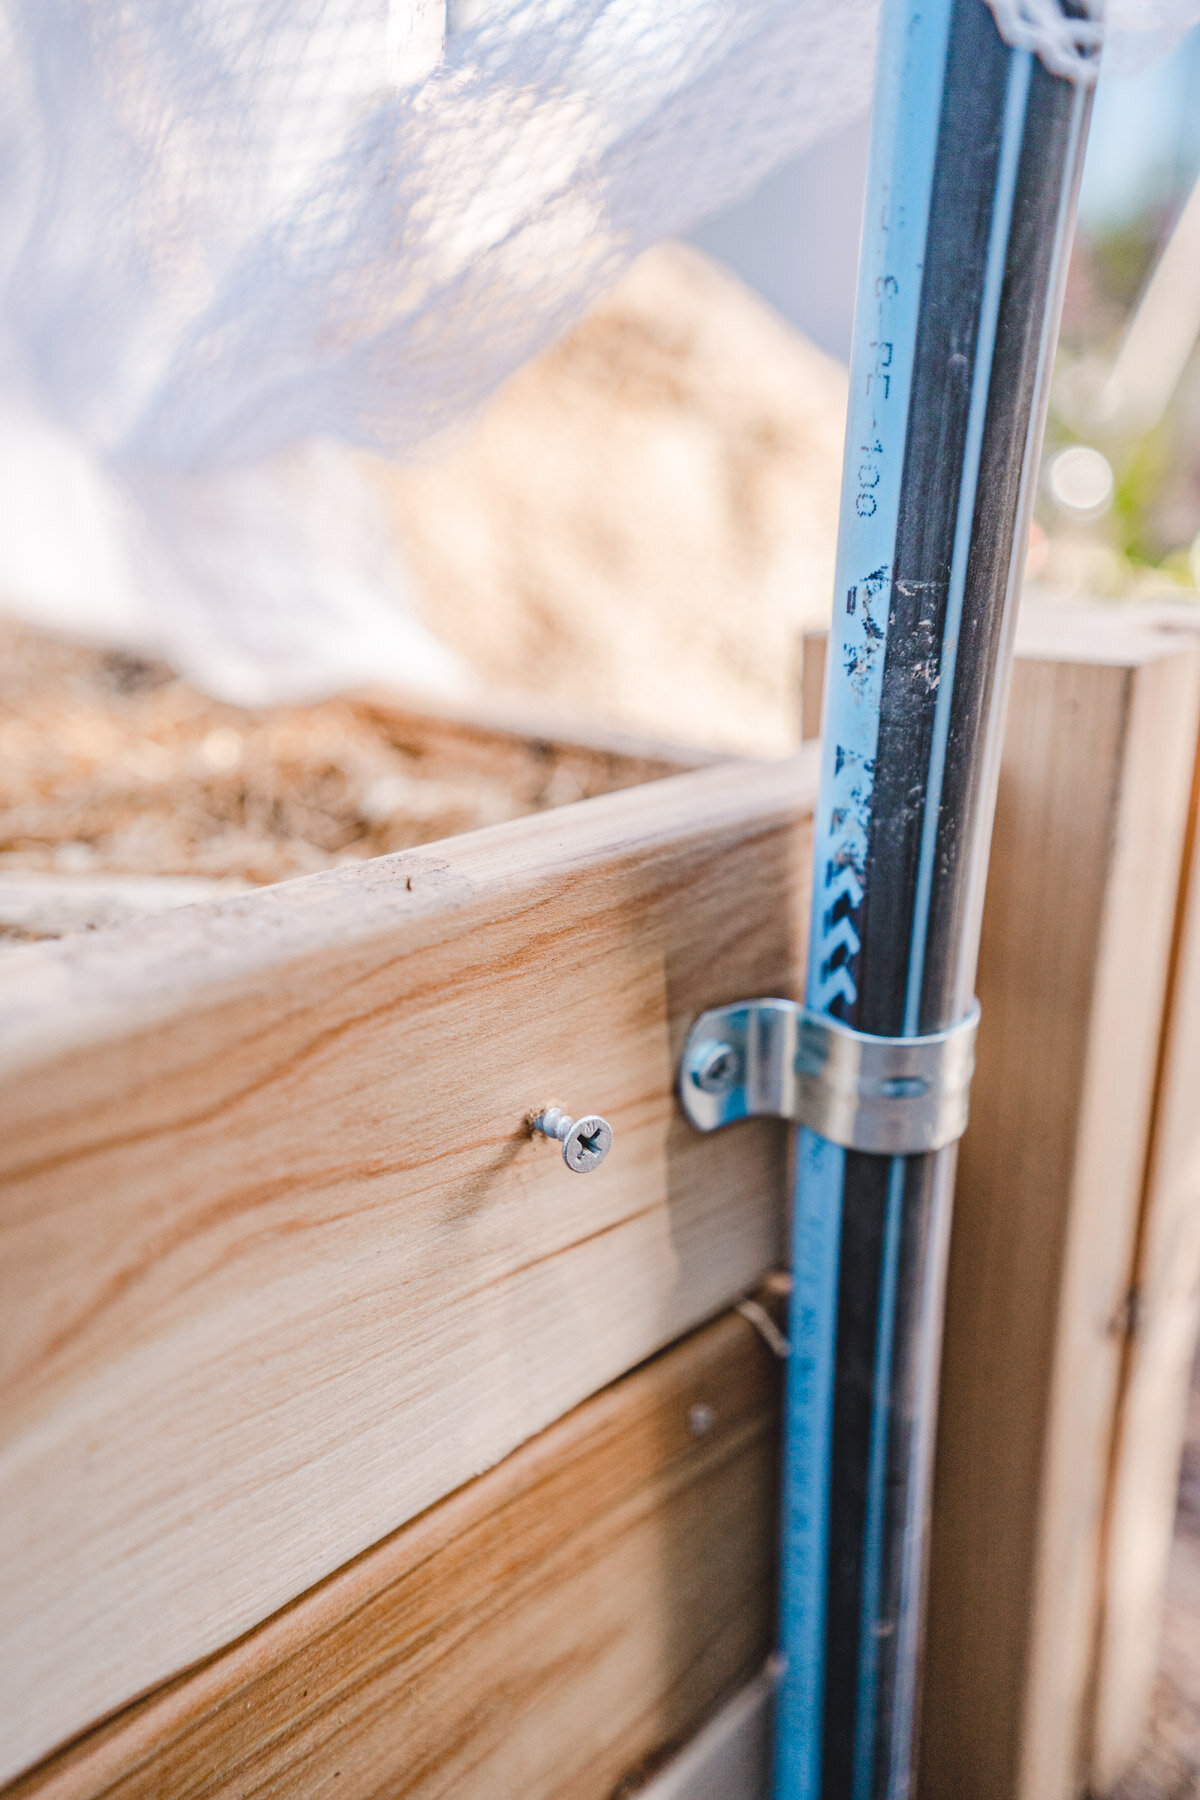
STEP 1: SECURE THE METAL SADDLES
The first thing we’re going to do is drill in the metal saddles, three on each side. On each side, position one metal saddle about 1.5 cm from the edge of the timber and around halfway down the first timber plank. Also position one in the middle of each side. Secure these with two small screws.
Please see pictures below for an approximate positioning.

STEP 2: MEASURE & CUT YOUR PIPES
For our 80cm wide garden beds, we’re going to be using 3 x 260cm length poly pipe pieces. I measured out the first piece with a tape measure and then simply used that piece as a guide to cut the remaining pieces. You can use a pipe cutter or saw to cut these to size.

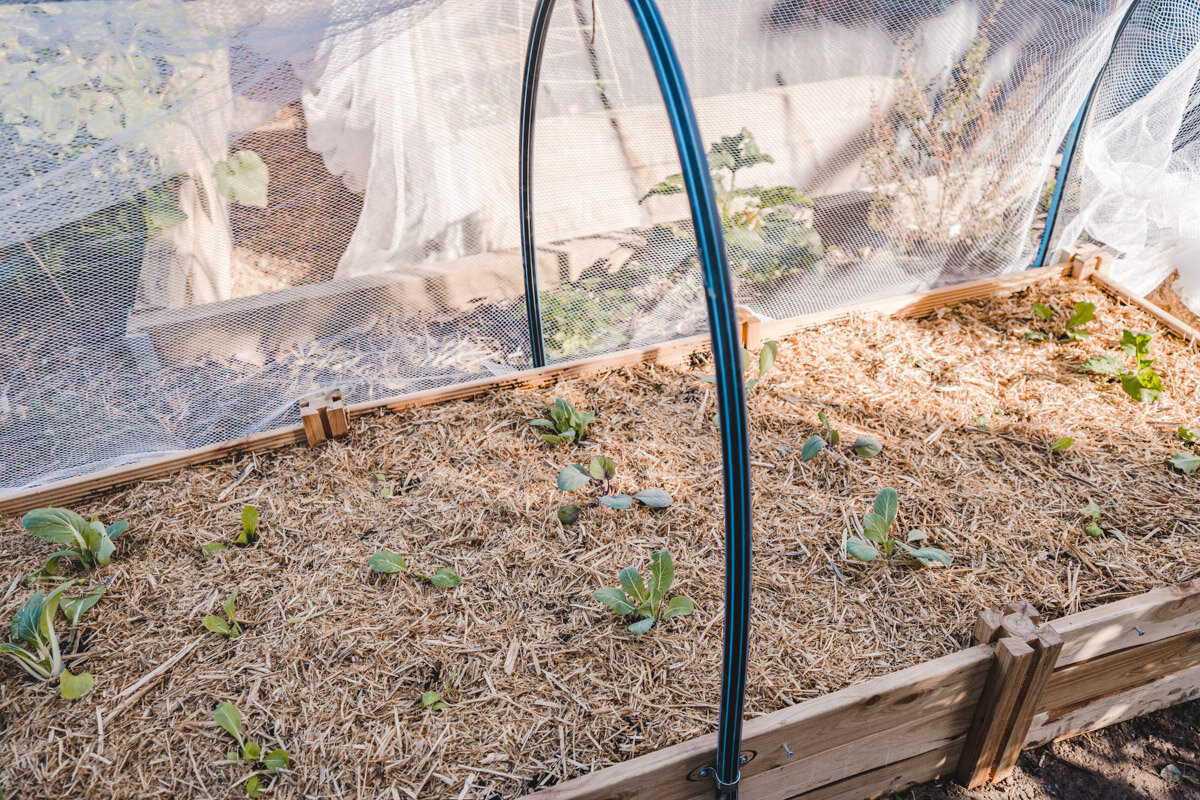
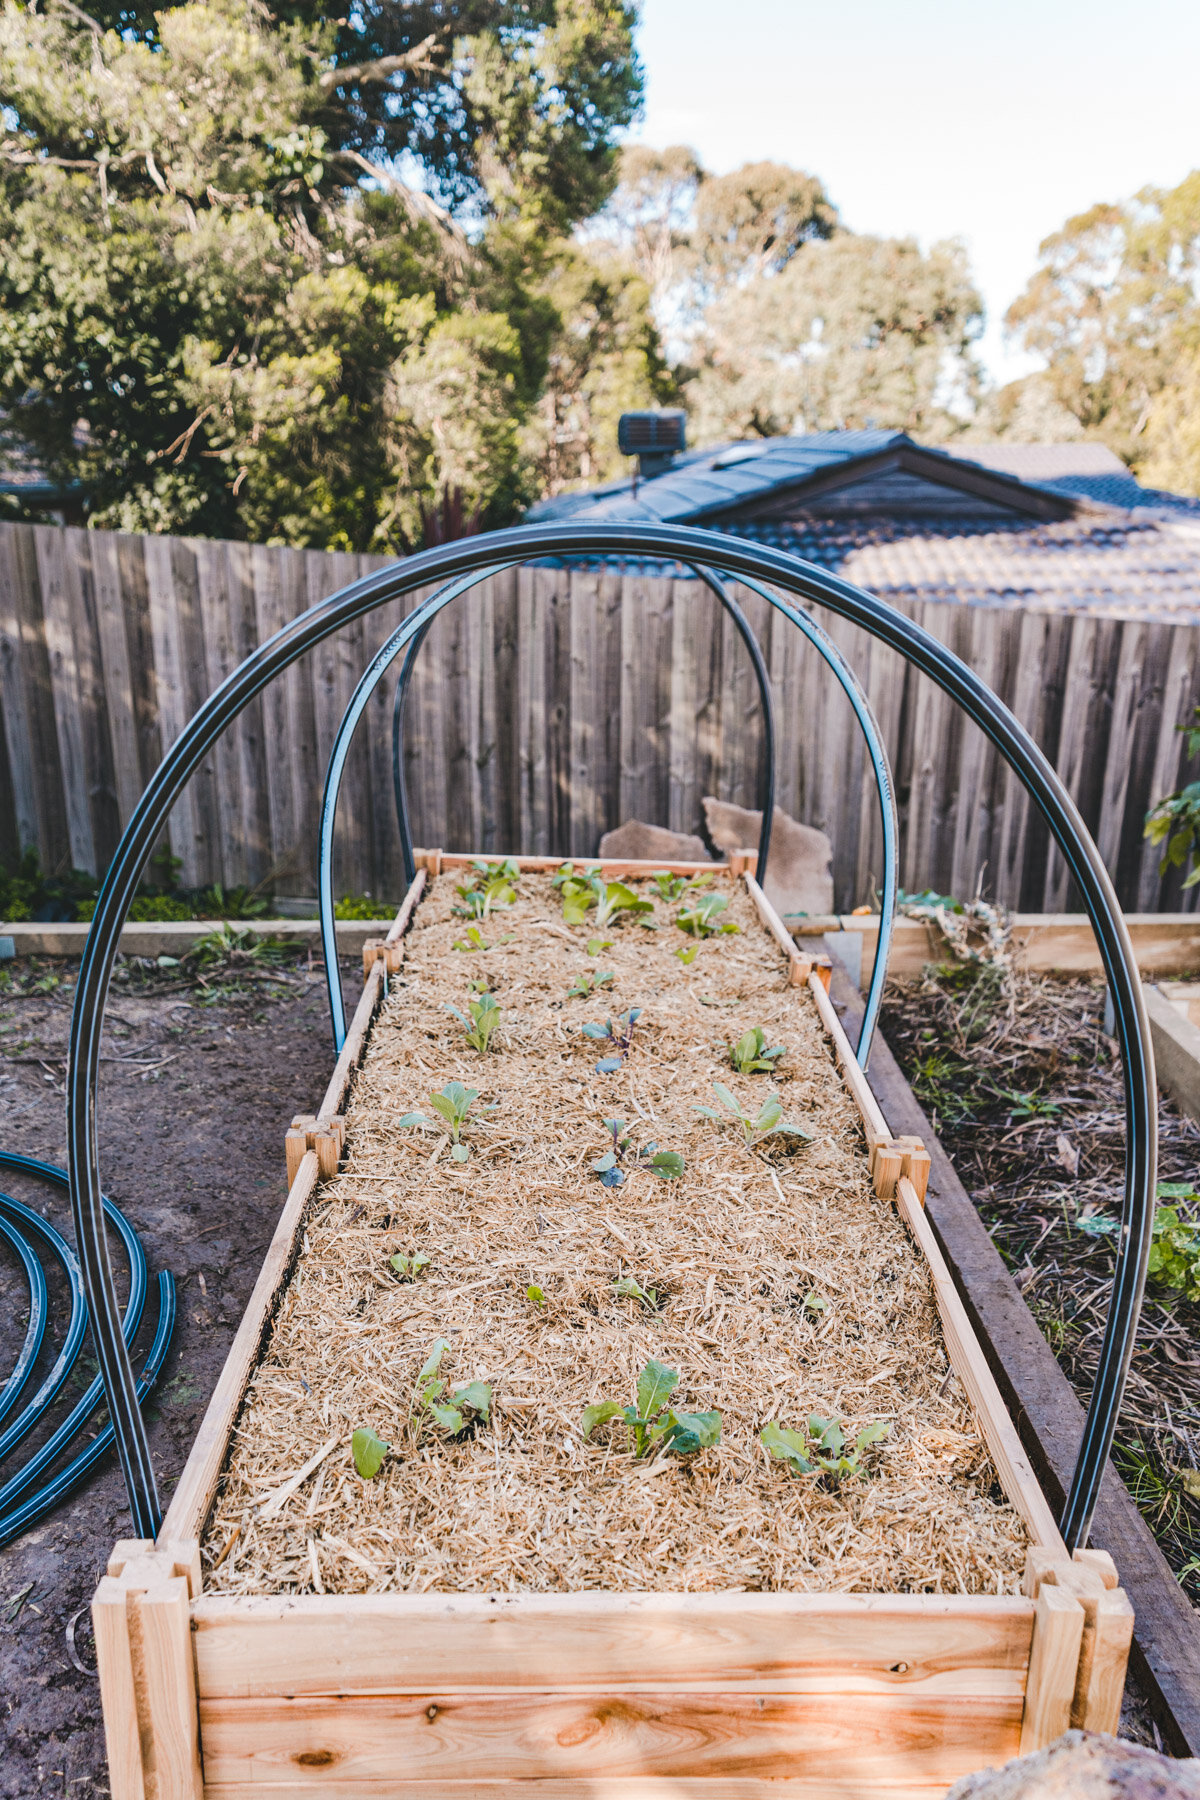
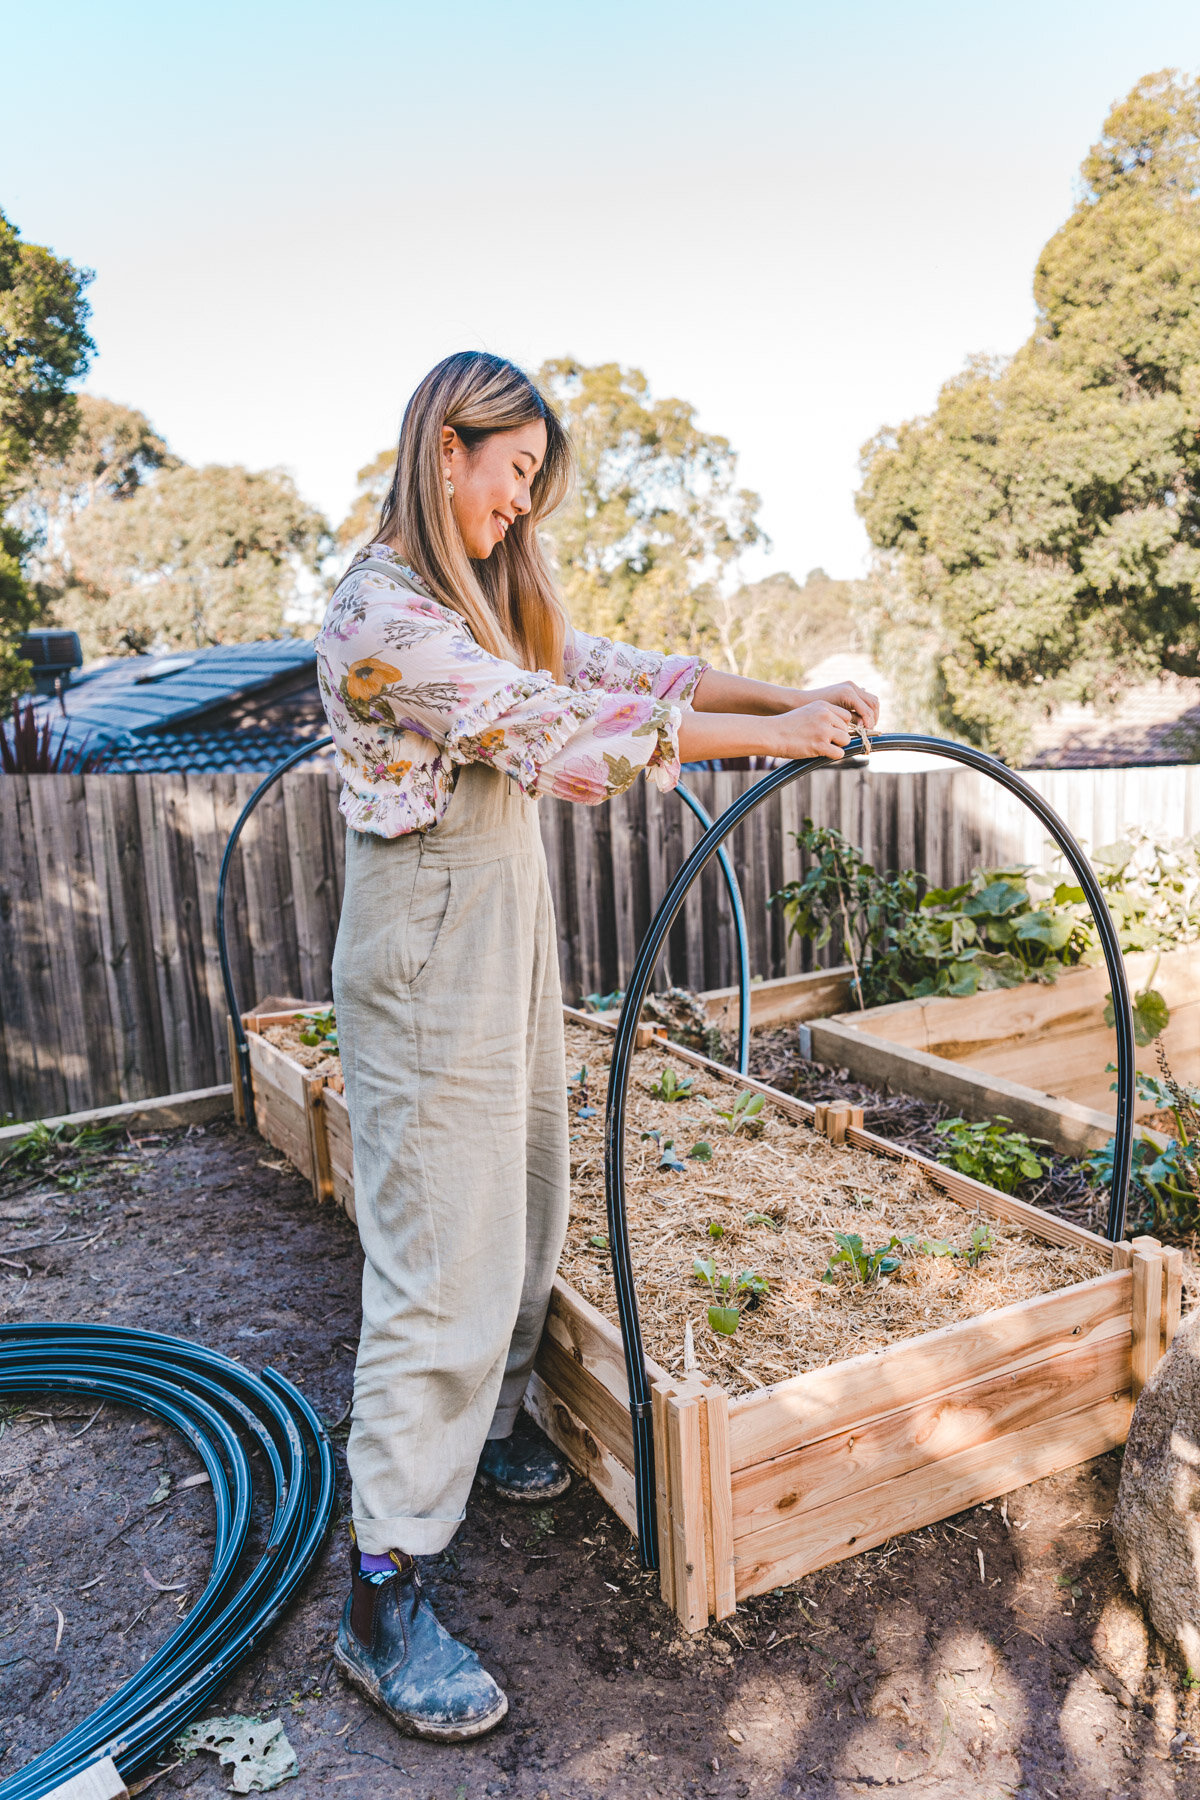
STEP 3: ASSEMBLE YOUR PIPES
Now, thread each end of each pipe into the metal saddles you’ve secured. The pipes should fit snuggly and shouldn’t move around too much at all. Using twine, tie your bamboo stakes along the top of the box to stop the hoops moving around too much.
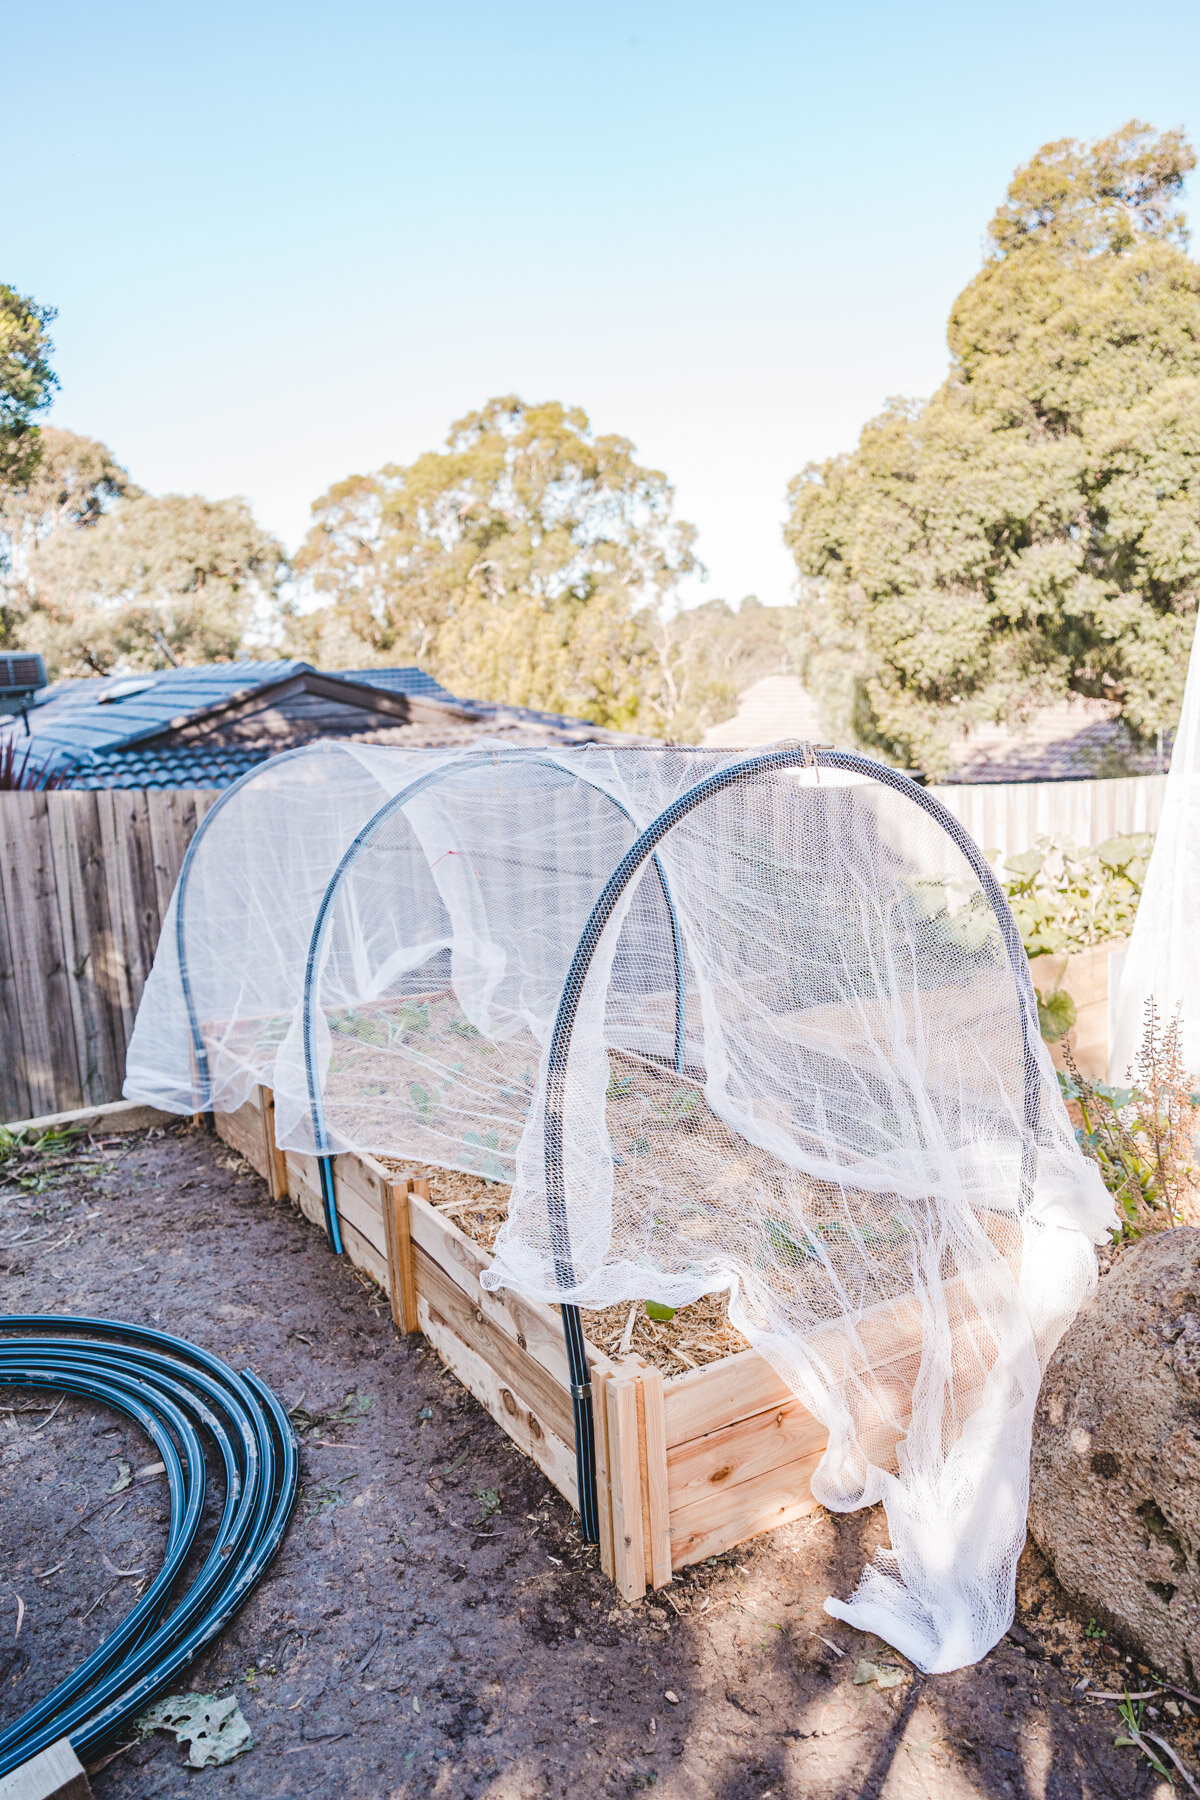
STEP 4: LOOP NET OVER PATCH
Position your 4x4m net over the patch. It is the perfect size for our 240cm x 80cm box, with just a bit of overhang on the side. You can cut this off if you wish, but I’ve decided to just leave it as you can’t do too much with the small amount of spare netting you’d cut off.
Tie one side of the net with some twine.
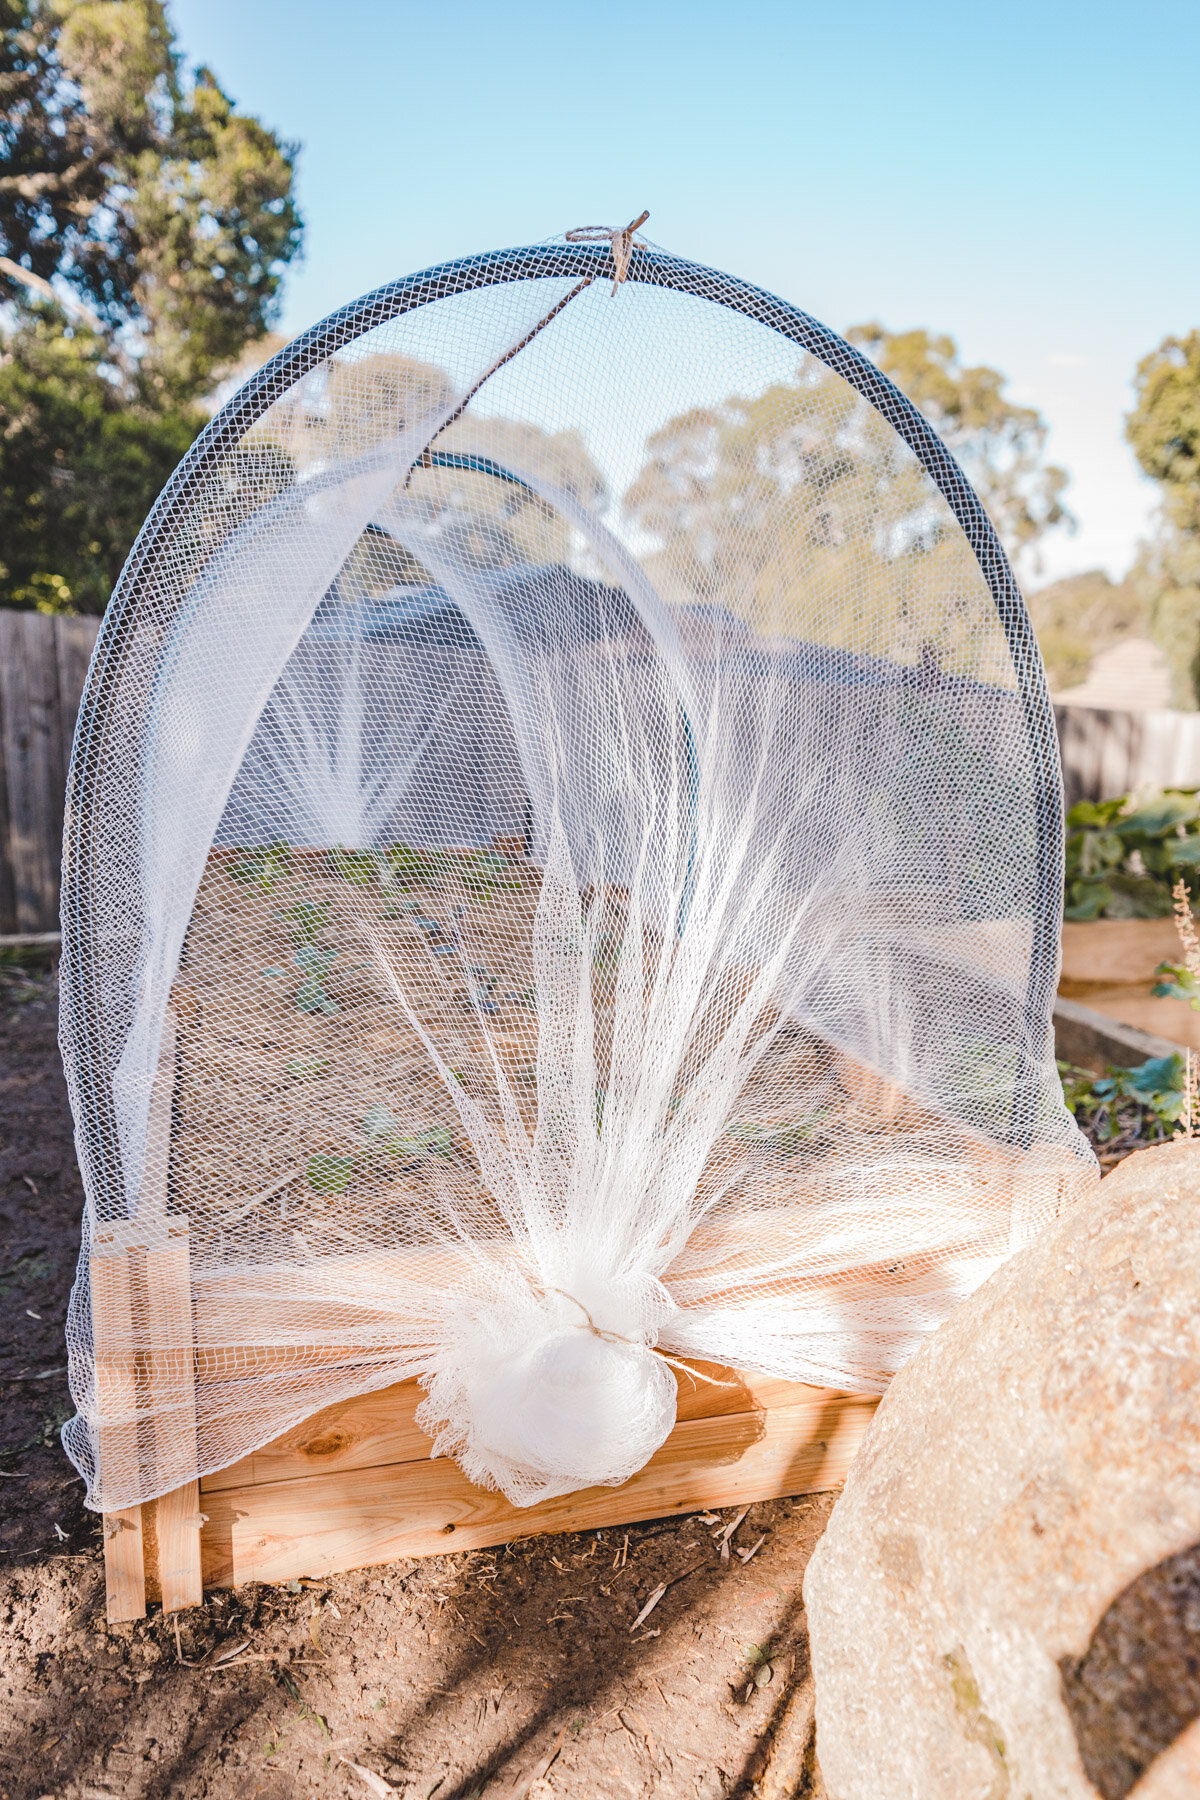
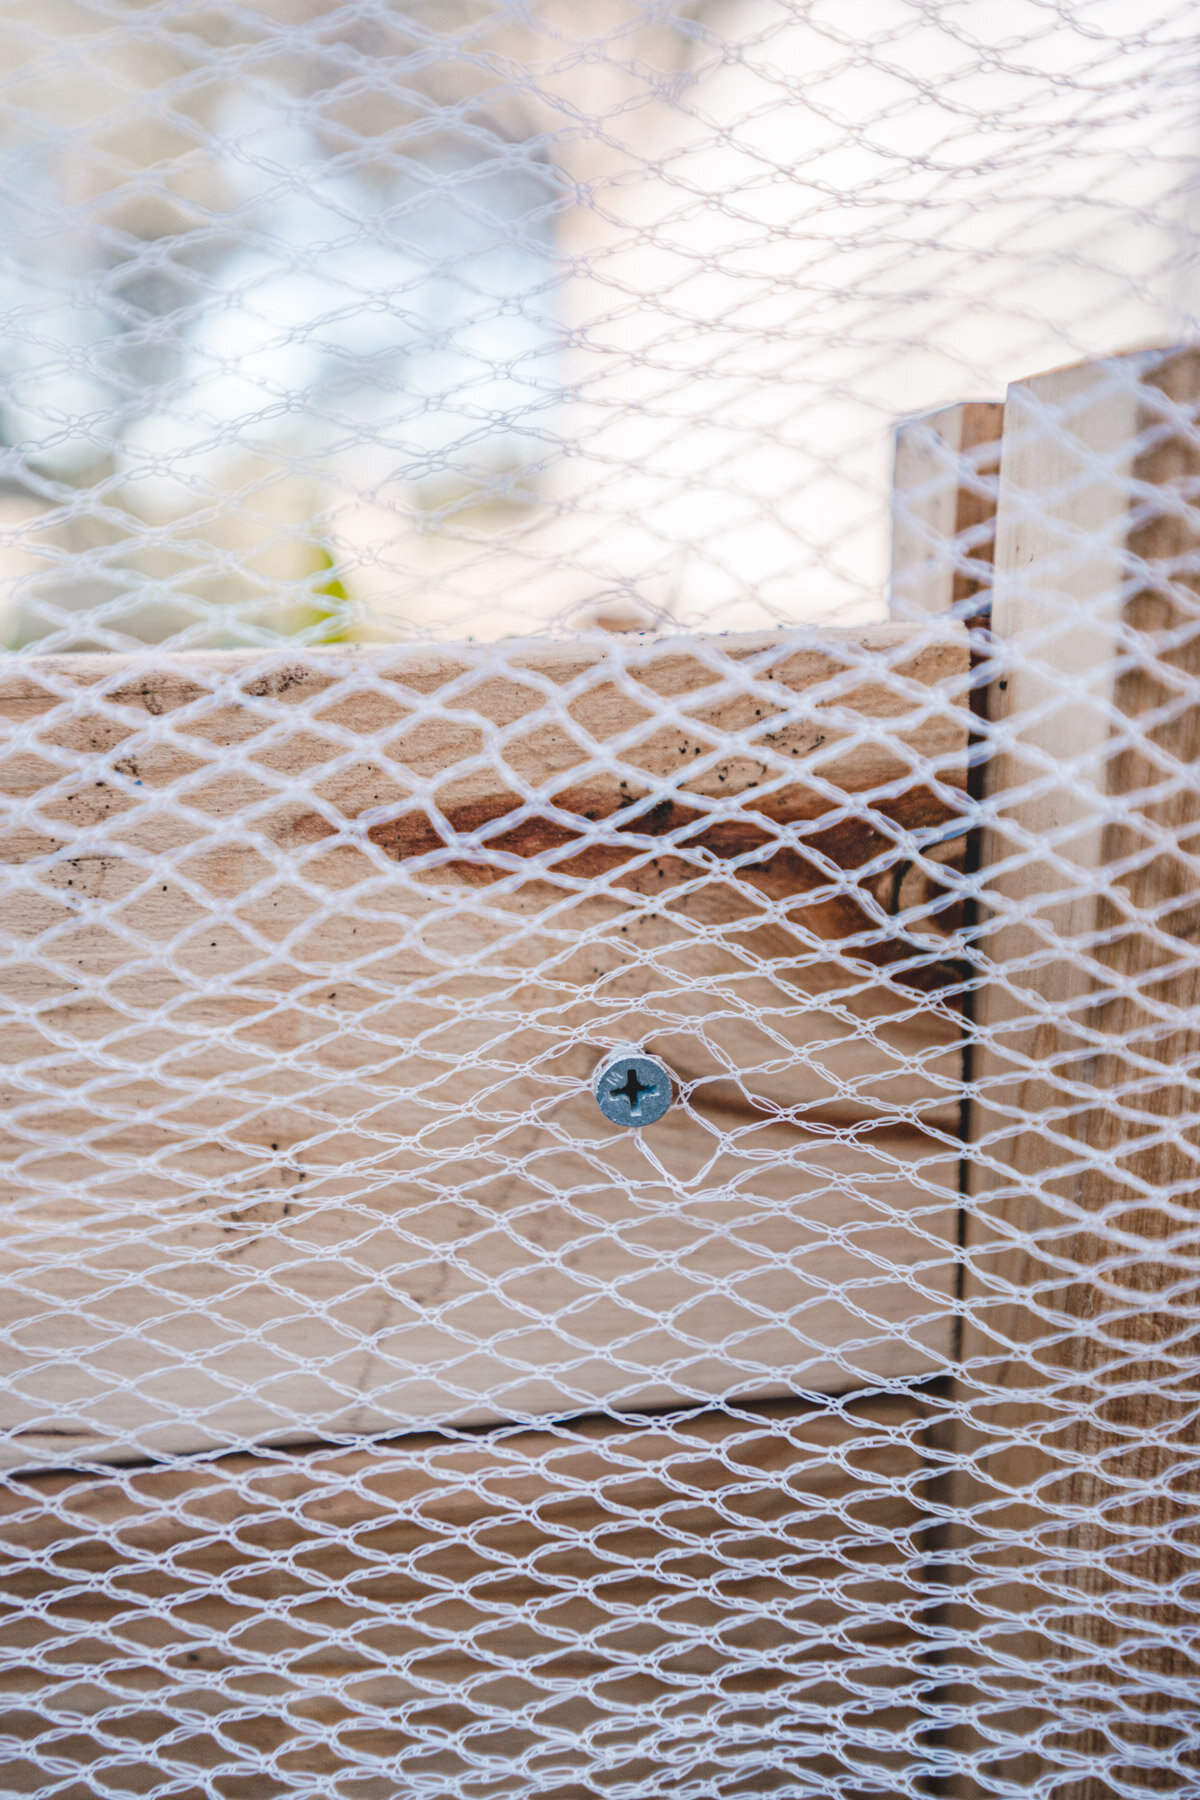
STEP 5: SECURE NET WITH SMALL SCREWS HALF SCREWED IN
Now, screw in a number of half screwed in screws along the length of the raised bed. I’ve done 3 screws on each side, but you can definitely add more for a more secure net and even add them on the shorter sides as well. These screws will be used as hooks to keep the netting in place. Pull the net taut and secure in place with these screws, and then tie the other end with twine!
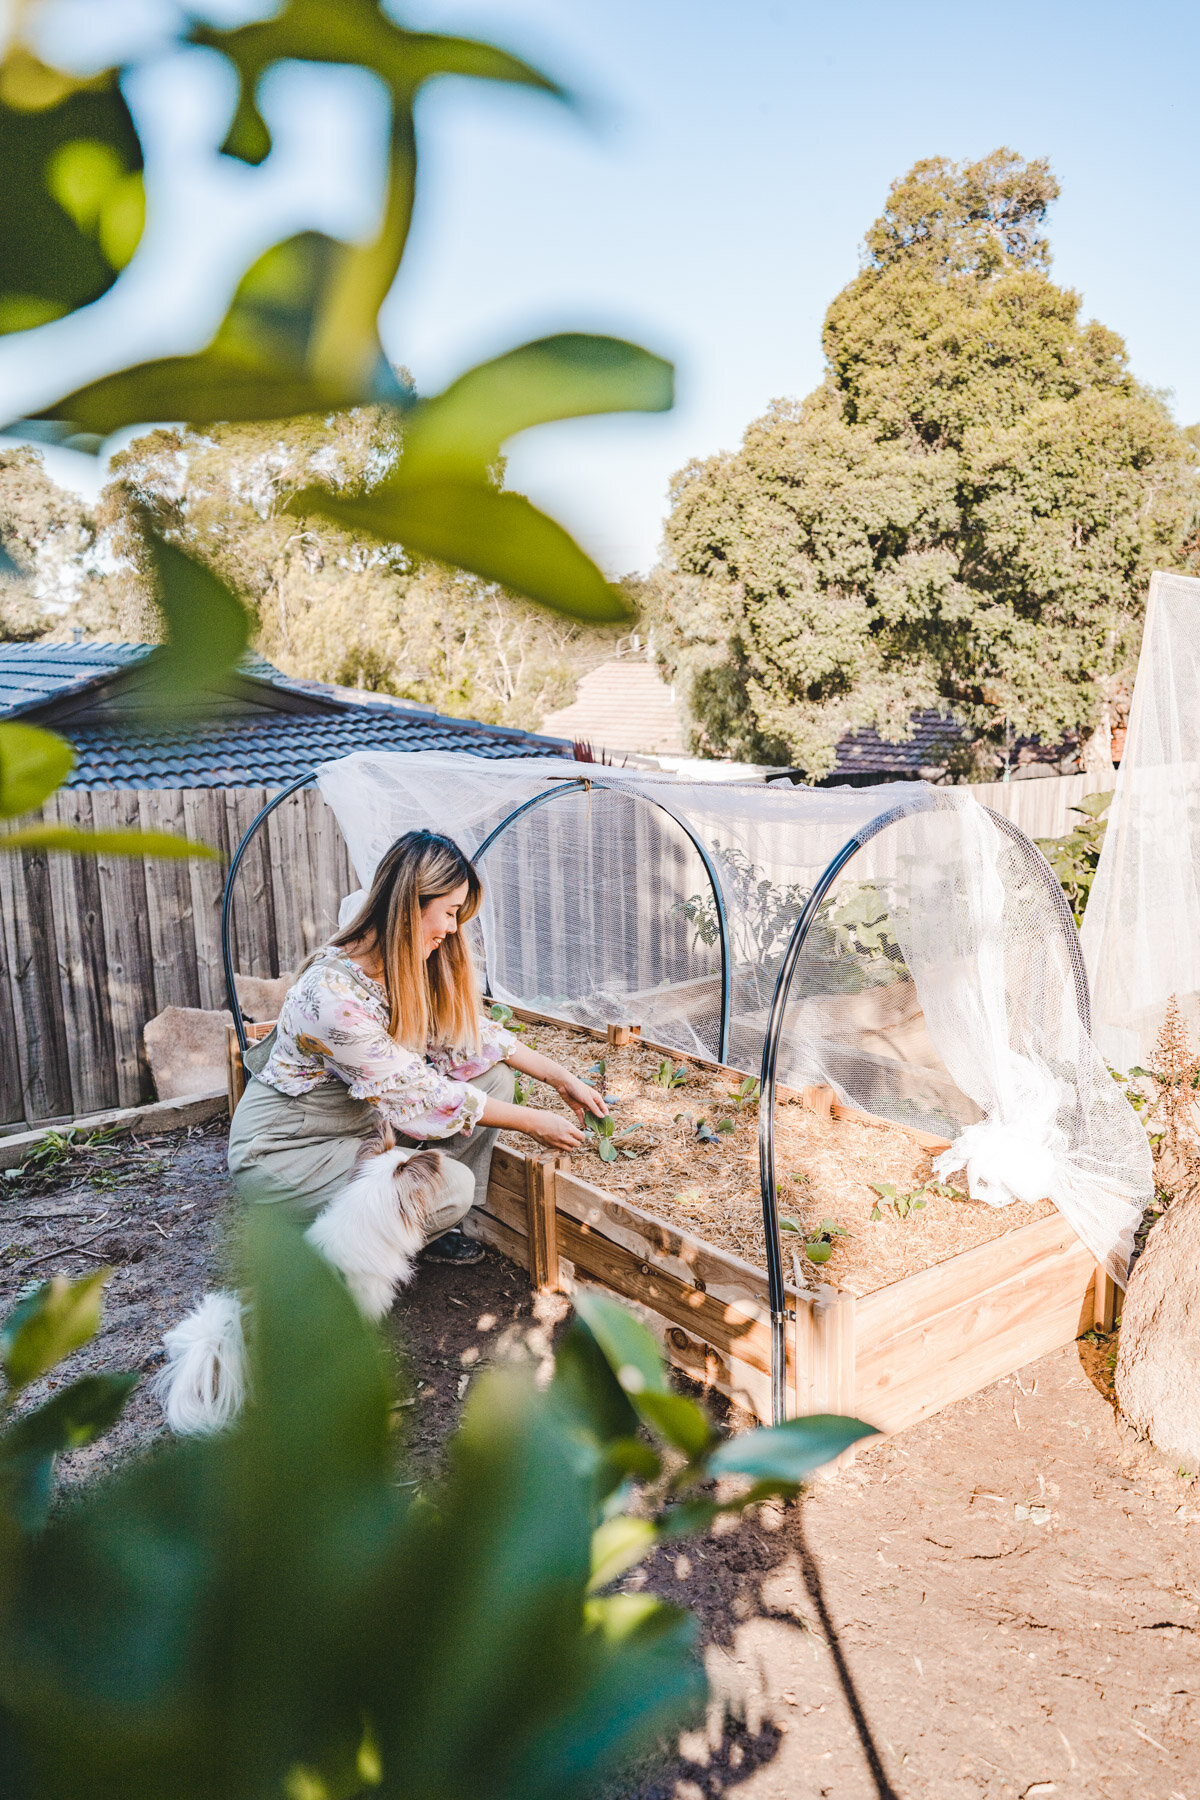
And there you have it! Your very own DIY netting structure for your raised garden bed! Not too hard, after all. I’m loving how this net is looking. When watering your seedlings, you can just water through the net, no problems. If you want to check up your seedlings up close, you can simply flip one side up and have a peek - so easy!
I hope you guys have enjoyed this DIY and do let me know if you create one for your garden too. Would love to see!