How to Make Sourdough Bread - Beginner Friendly Recipe, Tips & Tricks, Winter Baking Schedule
I’ve been baking sourdough bread weekly for around 2 months now and so many of you guys have been tuning into my IG stories documenting my trials and tribulations on my sourdough journey. You guys all requested a post on my recipe time and time again so I’m excited to share that I’ve now put one together to share everything I’ve learnt so far.
I want to begin this post by saying that I’m still just a beginner, but through my beginner’s eye I hope you can relate to my observations, epiphanies & homemade hacks in trying to bake sourdough in the simplest way possible. I’m pleased to report that after a few questionable looking bakes, I have finally figured out how to bake a bread that’s decent and tasty - it’s more than enough for me! So if you’re here to learn more about how to get started, you’re in the right place.
However, I also suggest you do plenty of reading and learning from the numerous experts out there, so that you can better understand how sourdough works. Learning about sourdough requires more than just one blog post, but hopefully this one will pique your interest, ignite your curiosity & provide you with enough to get started!
This post has been updated Nov 2020 with my updated process as I have tweaked a few things to get an even better bake. Pics below of my more recent bakes in Sept-Oct, and the rest of the pics are from the original shoot. If you love sourdough and want to try and bake your own at home, I would love to encourage you to get started! I’ve now been baking non-stop for about half a year now and love encouraging others to try their hand at sourdough baking if that’s something they’ve always wanted to do! I’ve written this guide so that it’s beginner friendly and as explanatory as possible for someone who’s never baked bread before and I’ve made this post so that you have the perfect balance of information you need to bake your own sourdough so that’s accessible to everyone without over-complicating things and putting you off getting started. As I find one of the most daunting things about making your own sourdough is getting started and feeling like you can’t do it.
Enjoy! x Connie
You can follow my sourdough baking journey on IG stories here!


WHY BAKE SOURDOUGH BREAD AT HOME?
Baking sourdough is super cheap and uses minimal ingredients
Freshly baked bread in the house smells delicious
Freshly made bread in the house tastes delicious
Baking sourdough instead of buying it saves on unnecessary packaging
You know that the only thing in your bread is simple, real ingredients - and that’s all you really need
It makes such a fabulous zero waste gift for loved ones
And so much more!
MY TWO BIGGEST LESSONS & LEARNINGS:
1. Sourdough is a process. Coming from someone who never really made bread before, it was really complicated for me to understand everything at the start. I spent around 2-3 weekends reading, researching and learning until it finally clicked. Then, I took notes with every bake trying to figure things out before I finally understood how it worked. Once you understand, everything becomes easy.
2. A lot of sourdough baking is to do with reading the temperature of your house and developing a 6th sense (a bread sense) for when things are active or fermented or proofed to the optimum stage. This was one of the main things that prevented me from trying as there were just so many uncertain variables.
However, I believe all of this can only be learnt through practice, experience and multiple bakes - so don’t wait to be perfect before getting started. Start now and learn on the job! I have found that even if you don’t get the right level of active-ness, or fermentation, or proofing, your bread will still taste more than good enough to eat. So it’s unlikely anything will get wasted.


TIME REQUIRED:
The total time required for me, living in Melbourne, in winter, is around 2-2.5 days. If you are following my winter weekend baking schedule, then you will need to be available for the following times:
Friday night 9pm-ish, around 10 mins
Saturday morning to 2pm, then again at around 9-10pm at night for an hour
Sunday: for baking
ABOUT OUR HOME CONDITIONS:
Your personal timeline depends on your home climate conditions. In winter our home is quite cold - maybe 9-12 degrees max. We don’t have central heating throughout the house but use one reverse cycle split system (which is the room I use to do my fermenting, rising, etc). If you have similar conditions and live in Melbourne or a city with a similar climate, you might find the timeline below accurate. If you have warmer conditions to work with, you’ll find you’ll need to adjust the timeline shorter, and if you have even colder conditions, it’s going to all take a lot longer.

INGREDIENTS (PER LOAF)
TIP: I highly suggest doubling or tripling the below so that you can make more loaves at the same time, with the equal amount of work.
70g-80g active sourdough starter (I may follow this post up on a post about sourdough starter, as this was something I took ages to understand).
300g filtered water - if you don’t have a water filter tap built into your kitchen like me, then use something like this from Kmart (what I have) or Brita (what I tried to get but was sold out everywhere).
400g baker’s flour (I use Wallaby’s Bakers Flour)
7g Sea Salt (like this: scoopable, weighable & fine in size)
Rice Flour (very important)
EQUIPMENT
a large mixing bowl
kitchen measuring scale
bread shaped bowls (if making round bread, which is easiest for putting in a round dutch oven, then use round bowls)
tea towels (I use cotton napkins from West Elm and recommend cotton or linen fabrics)
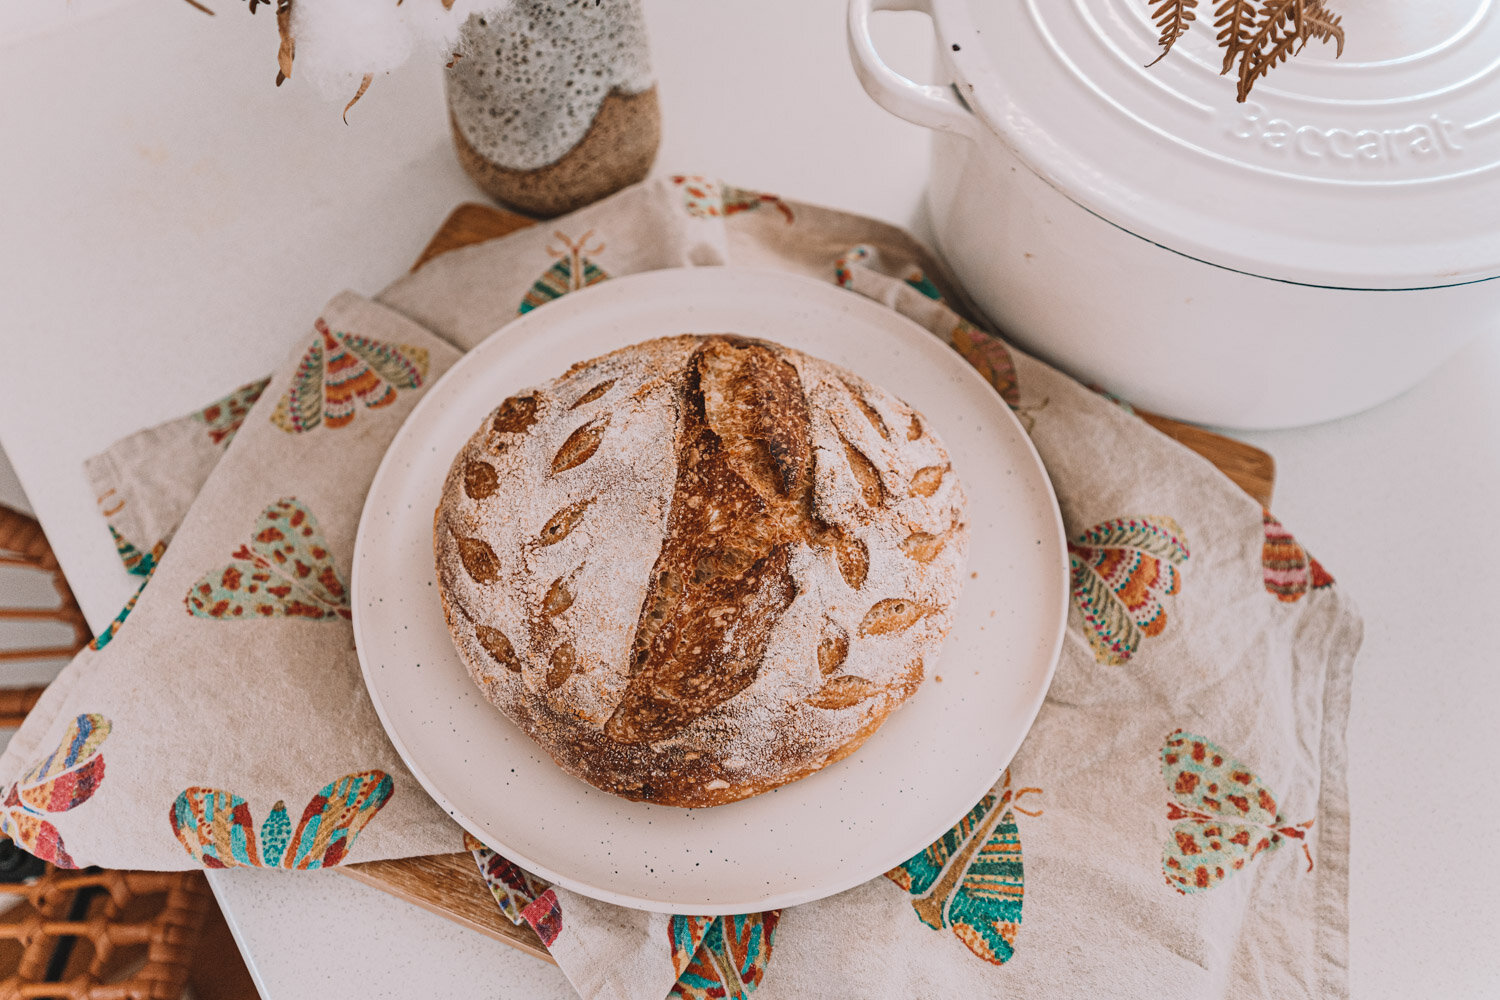
dutch oven (FYI it’s a pot, not an actual oven - but yes you also need an actual oven!) - I have the Baccarat Le Connoisseur Round French Oven
baking paper (I’ve considered a reusable option like silicon baking sheets however the bread is baked at a really high temperature which isn’t recommended if you want to use silicon sheets.
(updated Nov 2020): a scraper for pre-shaping
a razor blade or similar for scoring
a bread knife


HOW TO MAKE
(my WINTER WEEKEND TIMELINE)
1. On Friday night around 9pm, I prepare my starter. By this I mean that I take out my mother starter (which lives in the fridge), then I remove around 80g starter and put it in a separate jar. I feed this separate jar 80g filtered water and 80g flour. I also feed my mother starter and put it back in the fridge. And I leave my separate jar of 80/80/80 starter outside overnight.
TIP: I leave my starter overnight in the warmest room in the house. You can also leave it in your oven or microwave for a bit of insulation.
I will do a separate post on how I look after my starter, soon.
2. On Saturday morning, I check to see if my starter is ‘active’ and hence, ready to use. I check this by seeing if my starter has doubled (or almost doubled) in size. My house is really cold so I put it in the warmest room and usually when I wake up in the morning it’s only grown like 20%. My latest method in trying to make it then grow quickly, is microwaving a wheat bag and wrapping it around the starter. This has successfully grown my starter to almost double the size in an additional 3 hours.


3. Around Saturday 11am, I will deem (aim and hope for) my starter is active enough to begin.
4. Pour the starter into a large bowl and add in filtered water and baker’s flour. Using your hands mix together. TIP: I’ve used a spatula before but found it was less efficient so now I’ve gone back to just using my hands.


5. Cover your mixing bowl with a plate and let it rest on the bench for 30 mins. This is the ‘autolyse’ stage, where the flour soaks up the water.
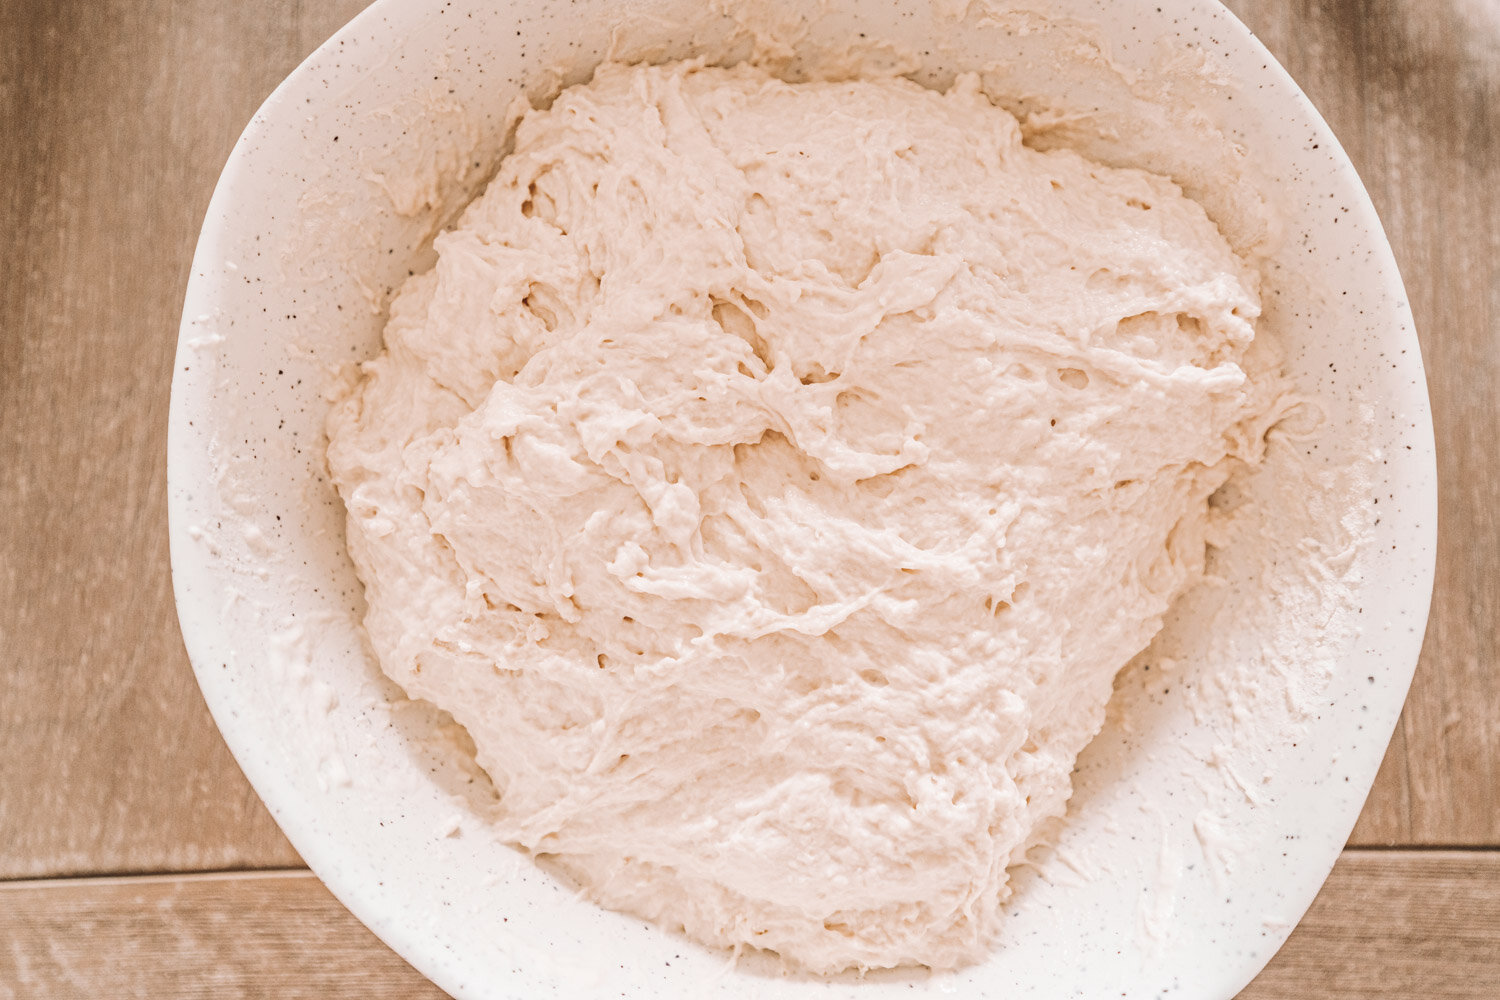
6. 30 mins later, add your fine salt + a bit of water to dissolve the salt. Mix with your hands again until dough forms.

7. Cover with a plate and bench rest for a further 30 mins.
8. It’s probably around midday now and time for stretch and folds.
9. Do 4 x sets of Stretch & Fold, leaving 30 mins between each set.
What is stretch and fold? Leaving the dough in the bowl, hold about half of it under one hand, stretch it outwards, then fold it over. Rotate your bowl a bit, and do it again and again until you reach the start of the circle. Watch Heartbeet Kitchen’s video demonstrating stretch & fold here.
My sample timeline:
12:30PM: Stretch & Fold, cover bowl with plate
1PM: Stretch & Fold, cover bowl with plate
1:30PM: Stretch & Fold, cover bowl with plate
2PM: Stretch & Fold, cover bowl with plate

10. Once this is done, it’s time for bulk fermentation. Cover bowl and let it sit for bulk fermentation, until it doubles in size.
TIP: The hard part is you won’t know how long it takes until you figure it out and the time all depends on the temperature of your home. During this time, I will regularly reheat my wheat bag and put it under or wrap it around the bowl to apply localised heat to it. However it’s best if you can provide more even heating, such as putting it near a heater if you can. Right now it’s winter, and I aim for it to bulk ferment from 2PM-10PM. This is the longest I can handle based on my timeline and based on the weather I’ll try and let it rise naturally as possible but if I’m running out of time I use my wheat bag more.
How do I know when it’s ready / doubled in size?
Observe if it’s doubled in size or at least grown a lot
Observe if it has a glossy/smooth/shiny top
Does it have bubbles on the surface and down the sides (if your bowl is glass you can see)
If you press a floured finger into the dough, does it bounce back a bit but still hold an indent?
Does the dough jiggle when you shake the bowl?
The following steps have been updated Nov 2020 to my new updated process which now includes pre-shaping.
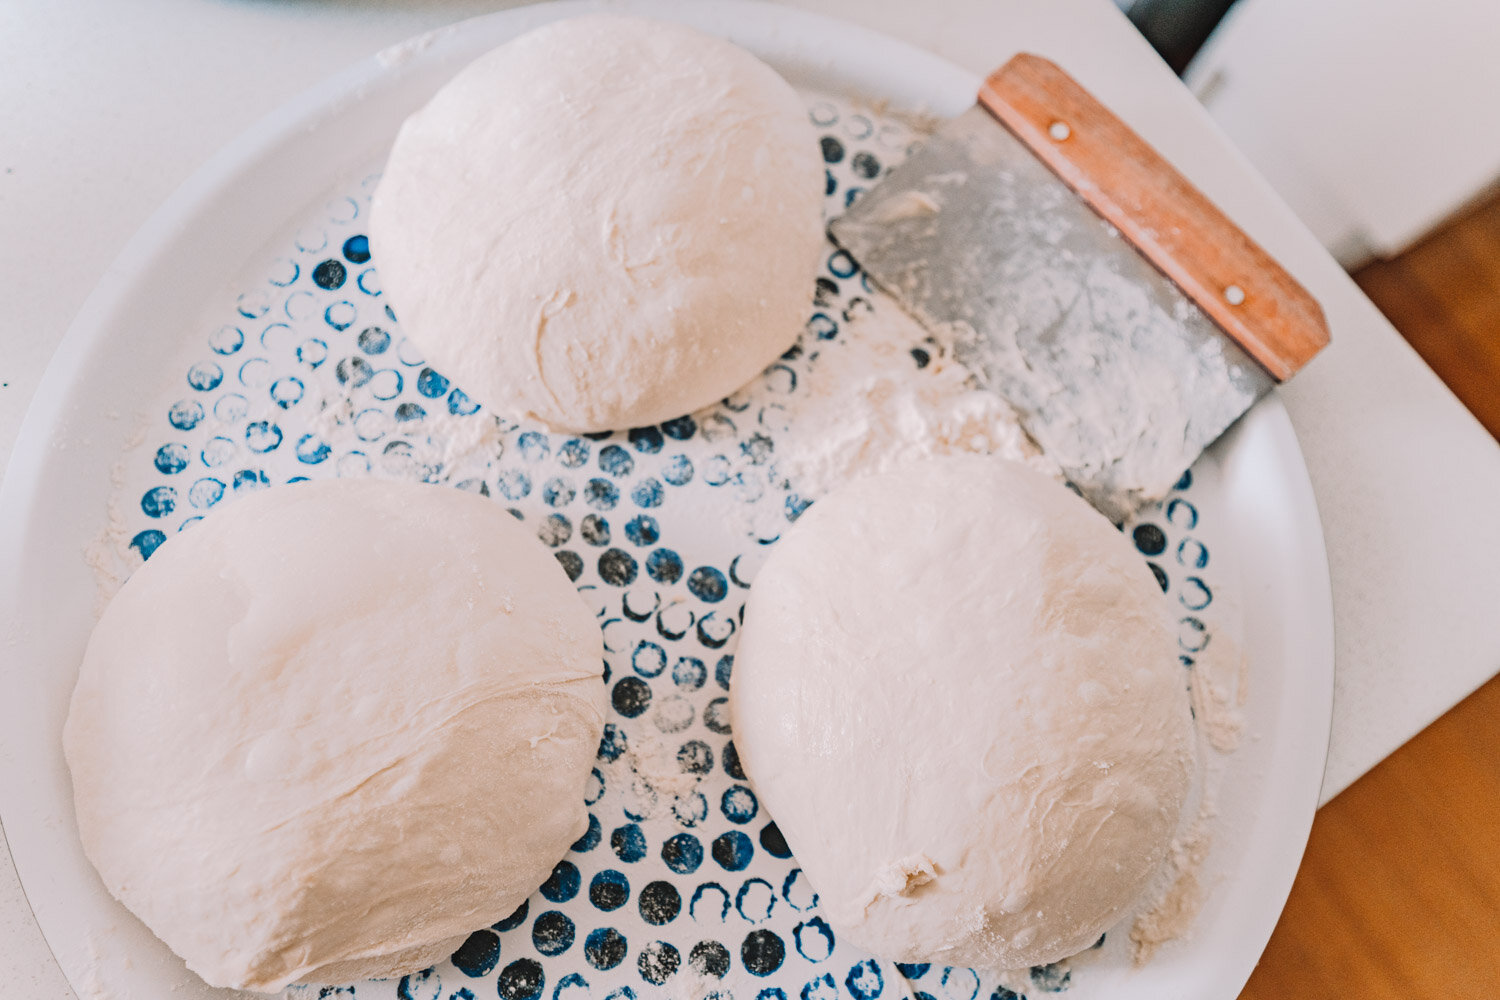
11. Once you think bulk fermentation is done, take the dough out of the bowl onto a un-floured work surface. If you’re baking multiple loaves, now is the time to divide your dough into those pieces (so if you’ve doubled the recipe and you’re making two breads, then divide into 2 pieces).

12. PRE-SHAPING: Now, it’s time to do pre-shaping. Using a floured scraper tool pictured below, tuck & turn the dough underneath itself, to create a nice bouncy, well-tensioned round dough. So I tuck and turn the dough around 90 degrees, and keep tucking & turning until it’s nicely round and tall. Check this video for reference. Once done, leave the dough to rest for 15 mins.
13. Do the final-shape for each bread dough.
How to shape:
Pull the dough so it’s long and fold each side into itself like you’re creating an envelope
Then, turn the tough over and push it into a circle gently to create a sort of surface tension and encourage it to look all bouncy
Watch this video here by Heartbeet Kitchen

14. Get out your smaller bowls, line the bowl with a towel that’s well dusted with rice flour. Gently place the dough into the bowl, SEAM UP. Then, cover the bowl (I use a plate)
TIP: You must make sure you flour well with rice flour else the dough will stick and that is going to be really annoying.

15. Put this in the fridge for the FINAL PROOF overnight. So for me this is from 10pm, for a minimum of 10-12 hrs.
16. Sunday: It’s time to bake! I usually start baking my first loaf from around 8am.
17. Place your dutch oven in the oven and preheat over to 230 degrees for 30 mins.
18. Remove your first bread dough from the fridge. Place your dough on a sheet of baking paper, SEAM DOWN.
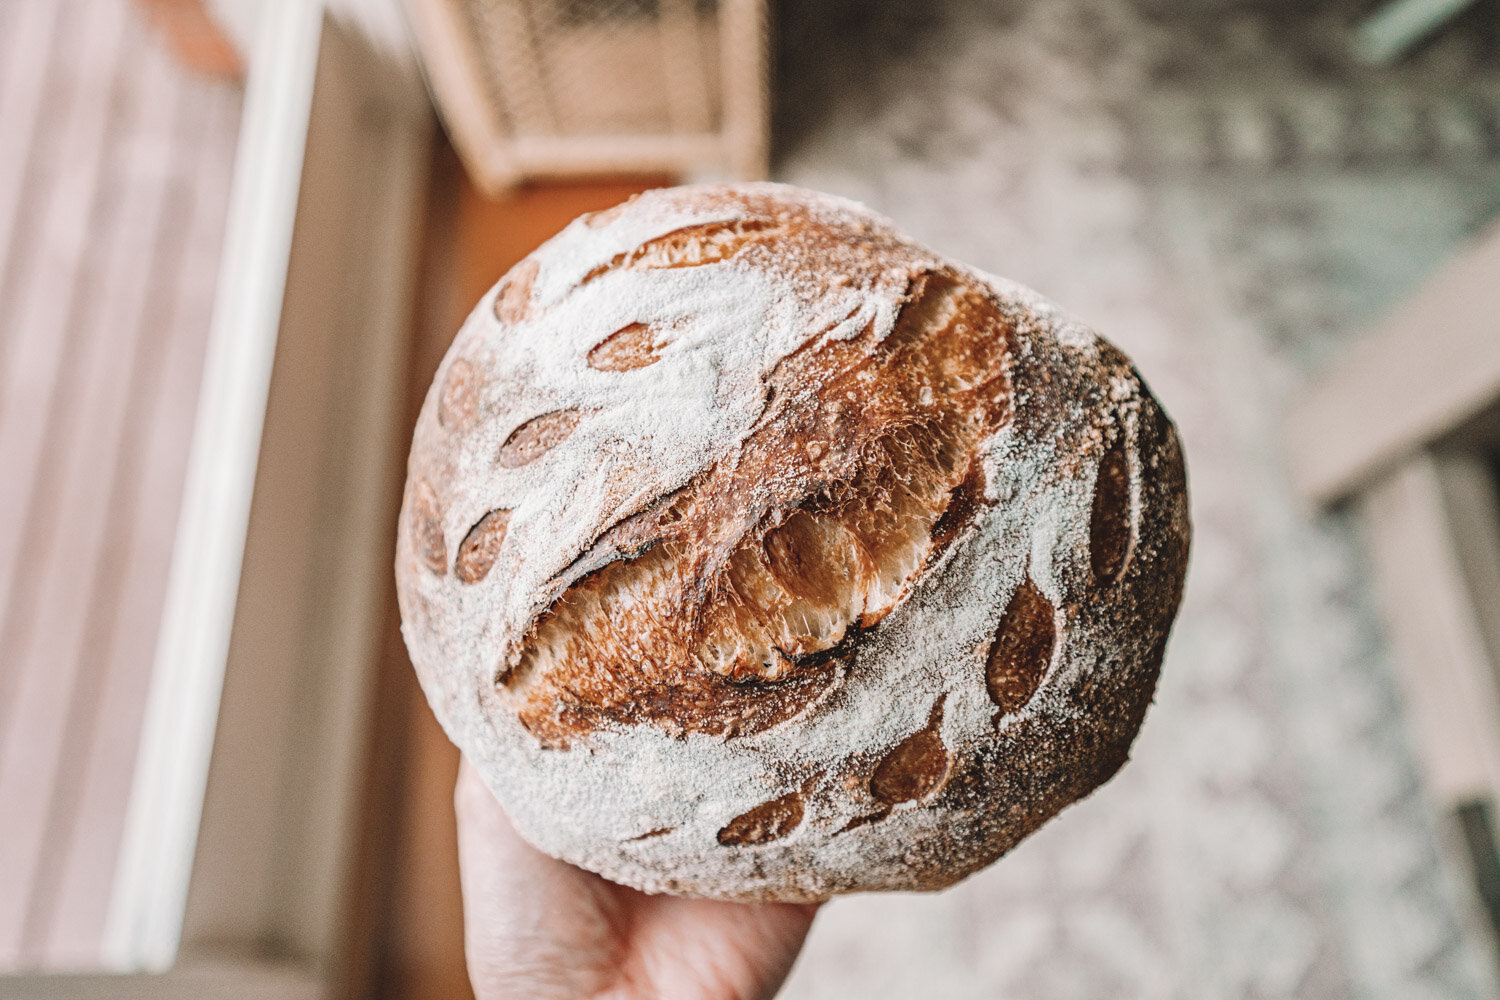
19. Score the dough (make a cut down the middle, or whatever shapes you prefer).
TIP: I used to use a knife but it was way too blunt. Then I discovered the razor blade and OH MY GOODNESS. What a game changer.


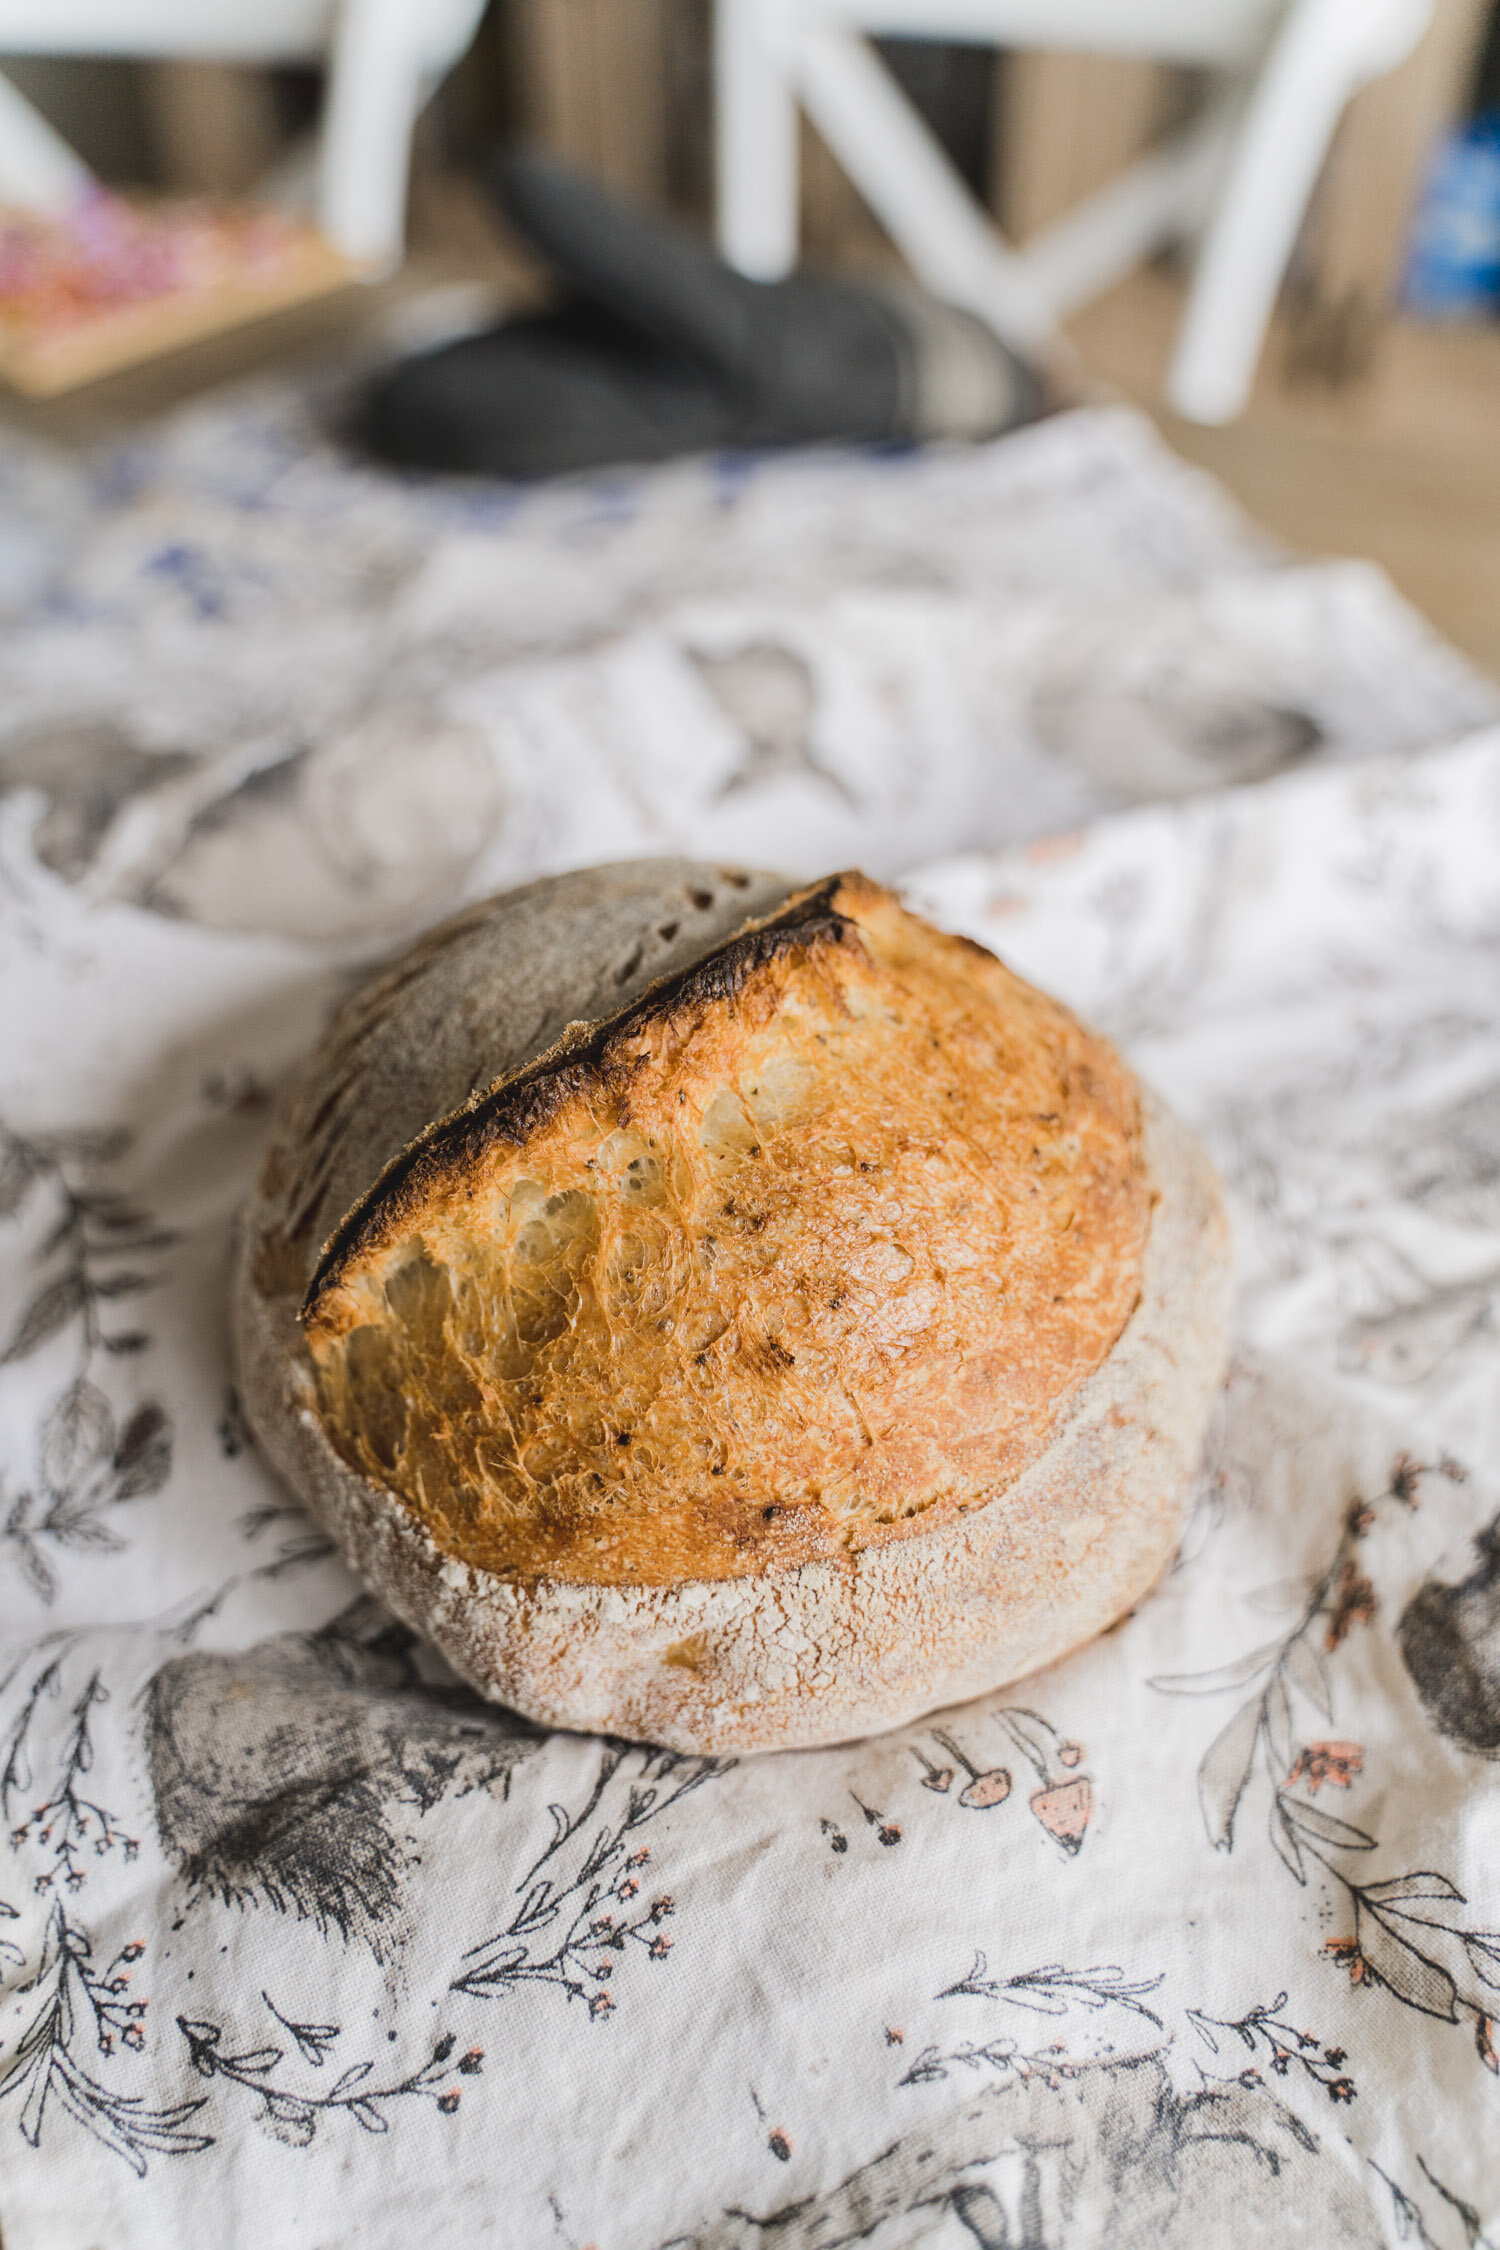
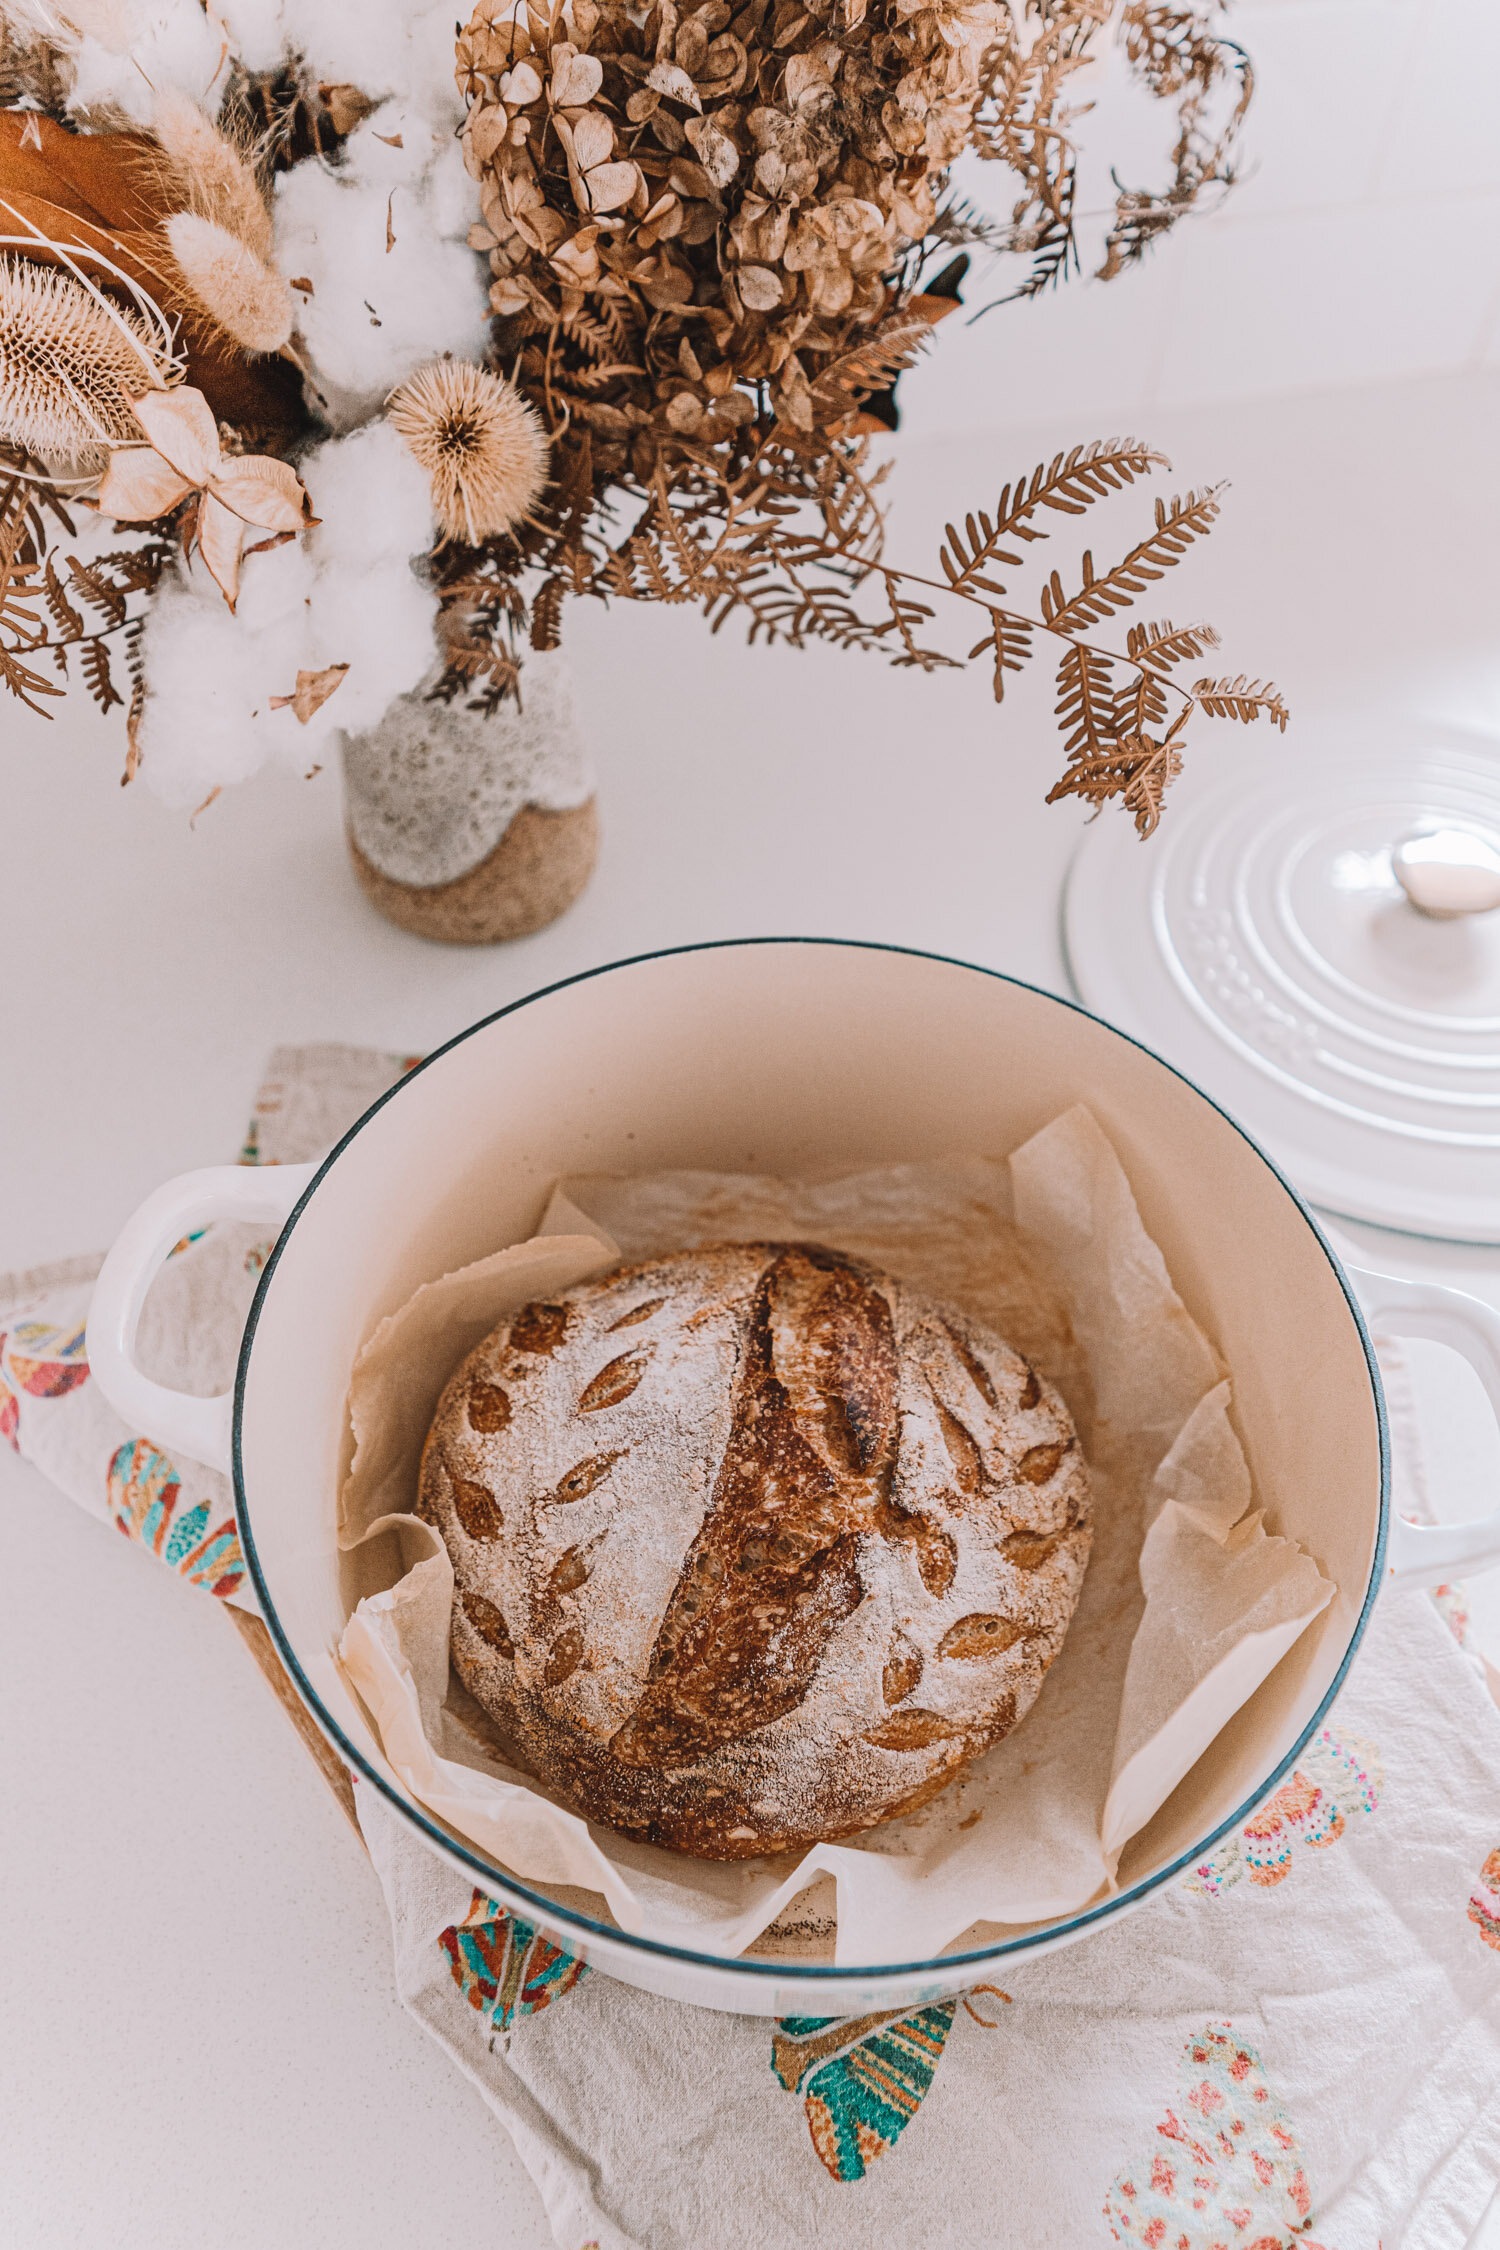
20. Place the dough (with baking paper) into the dutch oven and bake for 25-30 mins at 230 degrees with the lid on. Baking with the lid on is when the dough does most of its rising. Then, remove lid of dutch oven and bake for a further 10-15 mins at 180 degrees, until the bread is golden brown and crackly to your liking.
21. Remove your bread from dutch oven and baking paper, and place loaf on a wired rack to cool.
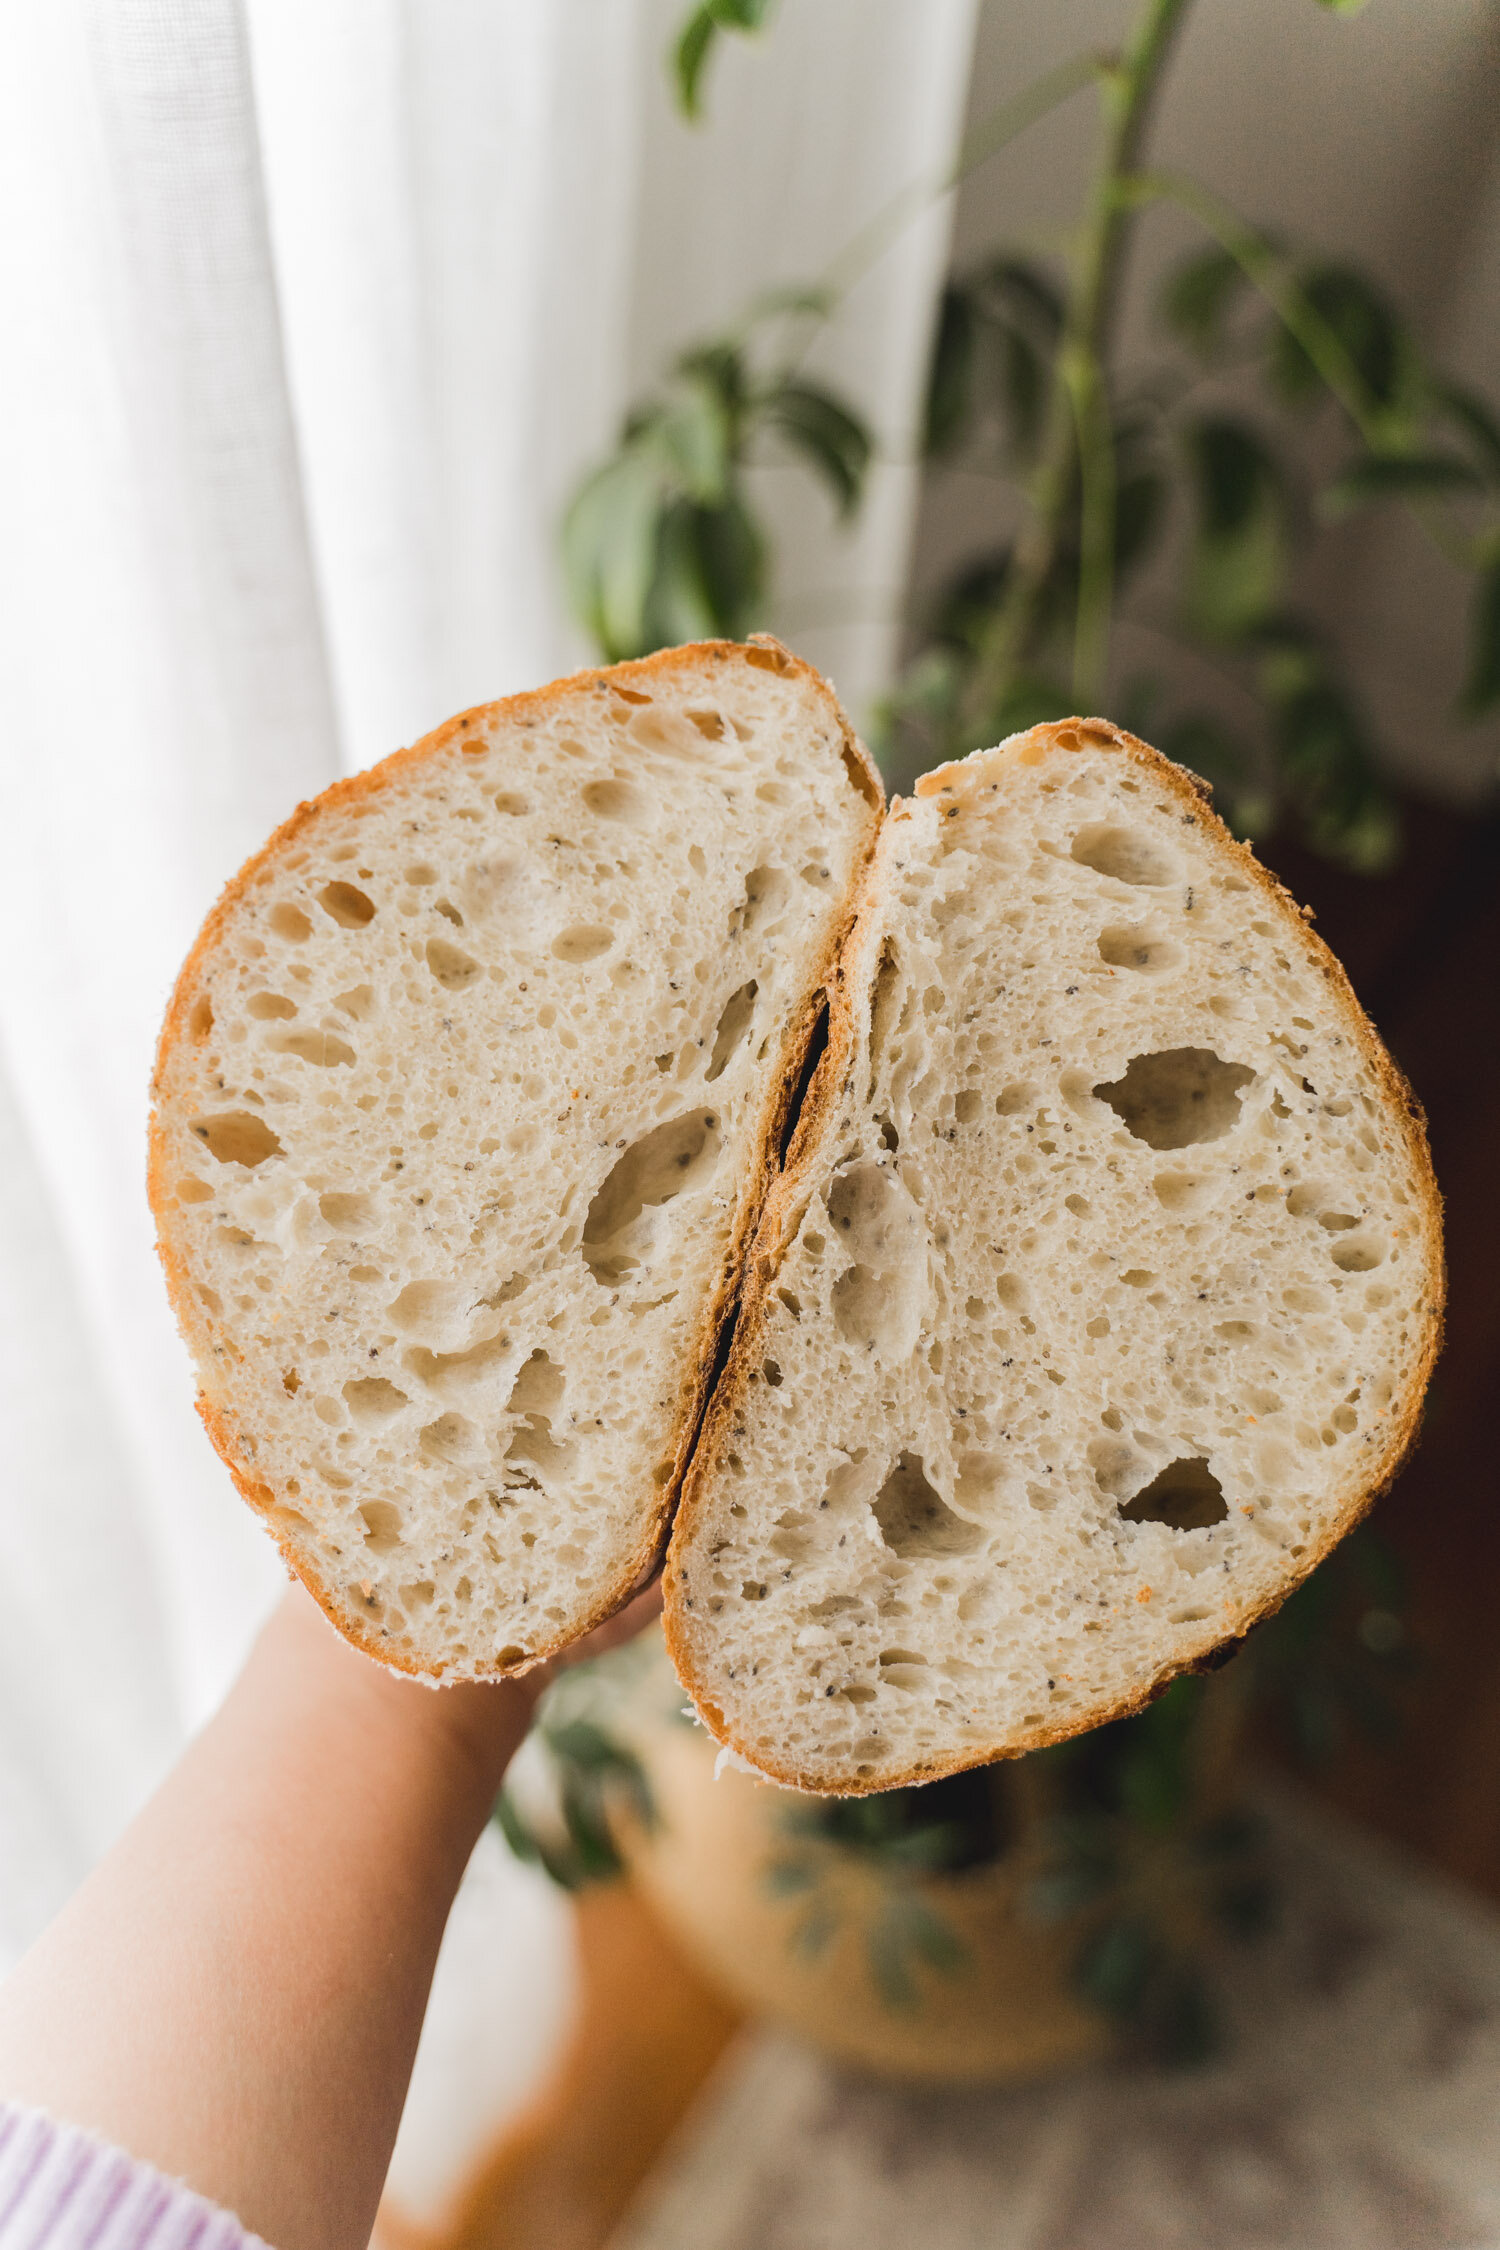
22. Let it cool down completely before slicing! Else it goes gummy and funny.
TIP: On a cold dry day if I’m dying to eat the bread I put it outdoors on a wire rack to cool down
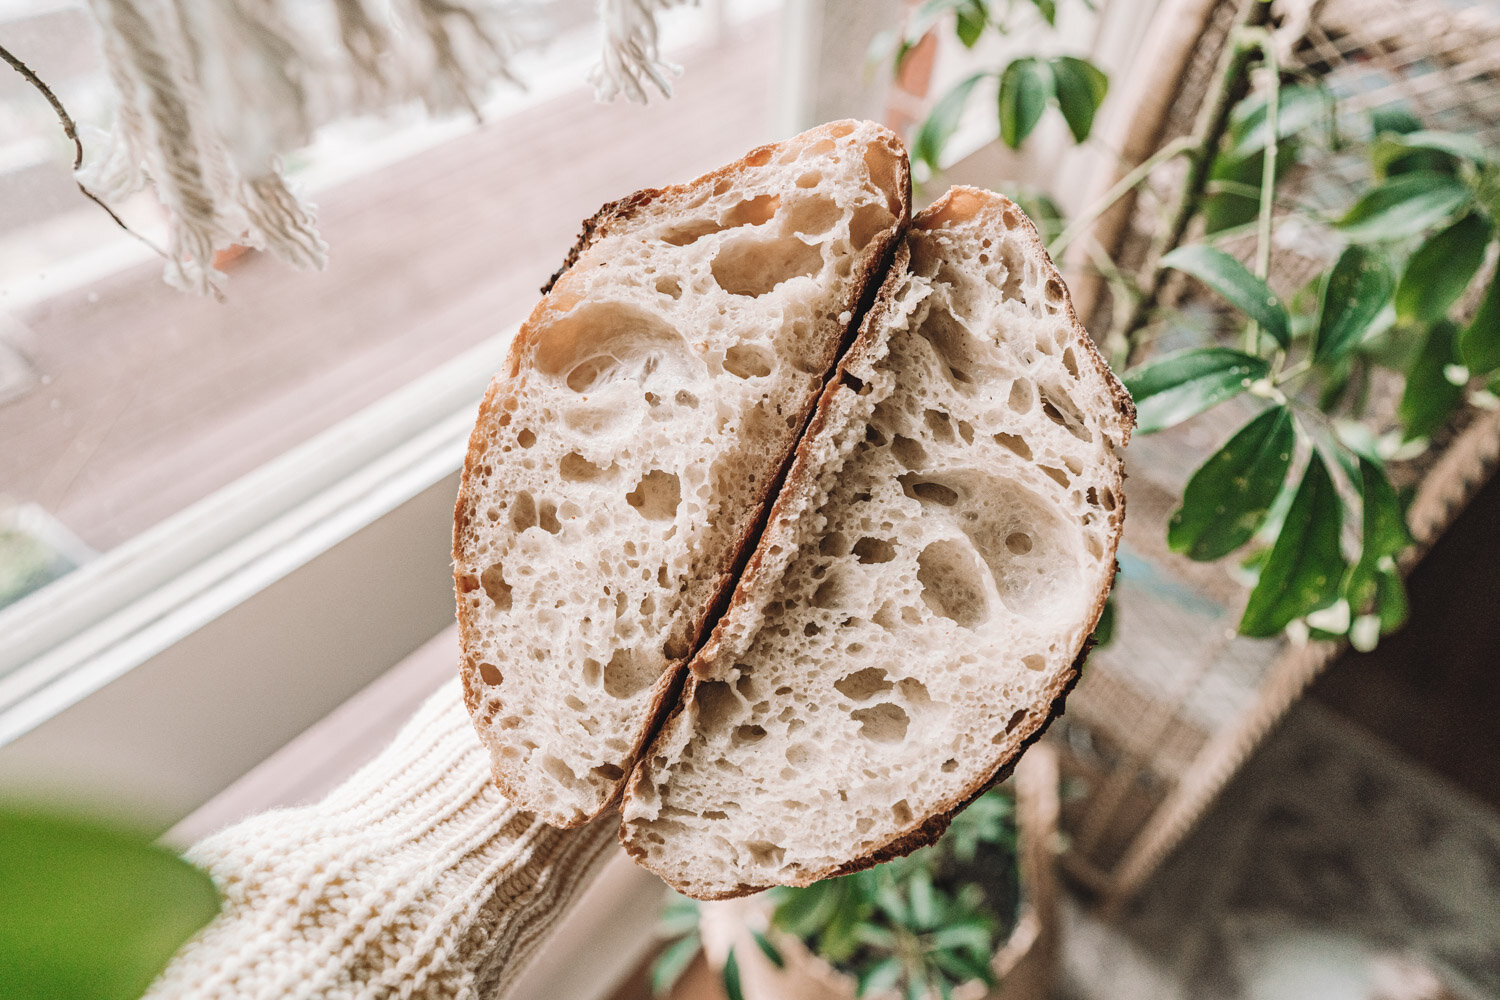
23. Slice and enjoy!
TIP: Keep in an airtight box for 3-5 days (if it starts to get stale, toast before eating)
TIP: Keep it for longer by slicing then freezing. When you want to eat it, simply toast it from frozen
I hope you enjoyed this post! I’m so lucky to be surrounded by plenty of fellow sourdough baking friends and we all love chatting about sourdough and sharing our weekly baking pictures with each other. I’ve learnt a lot from them during the process and I hope you guys have also learnt a bit from this post!